It has really arrived! The day we start putting up the 2.1m mesh fence supplied by Fence Secure of Msasa Harare and made in Zimbabwe (also termed Veld Fence or Bonox Fence).
I will post under the alphabetical boundary sections. We are starting from point E (close to the house) and heading off to D about 250m away to the east.

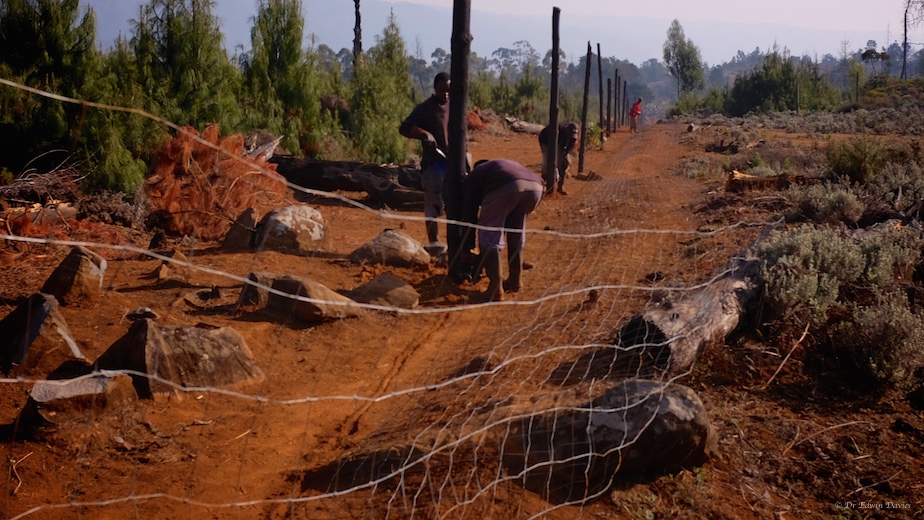
Ramius and Tendai on Day 1 of fencing

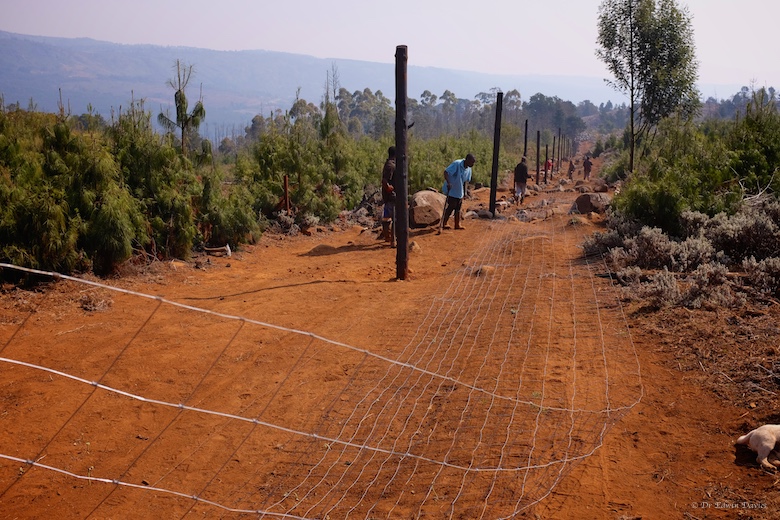
100m of fencing rolled out in front of the poles
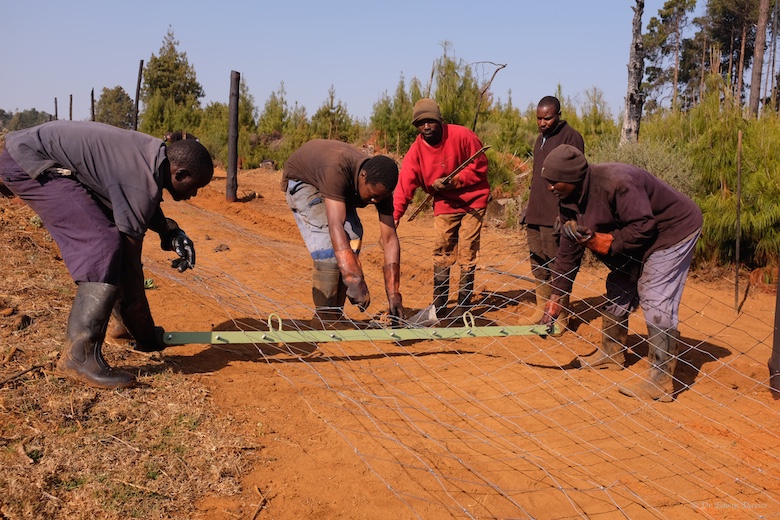
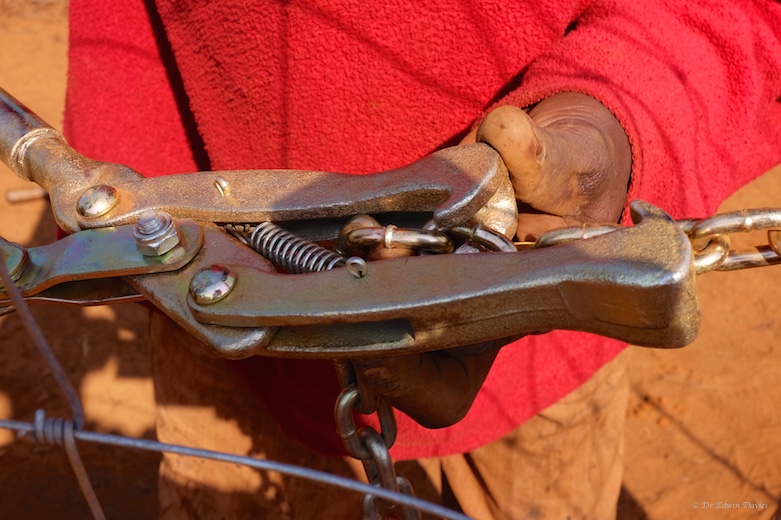
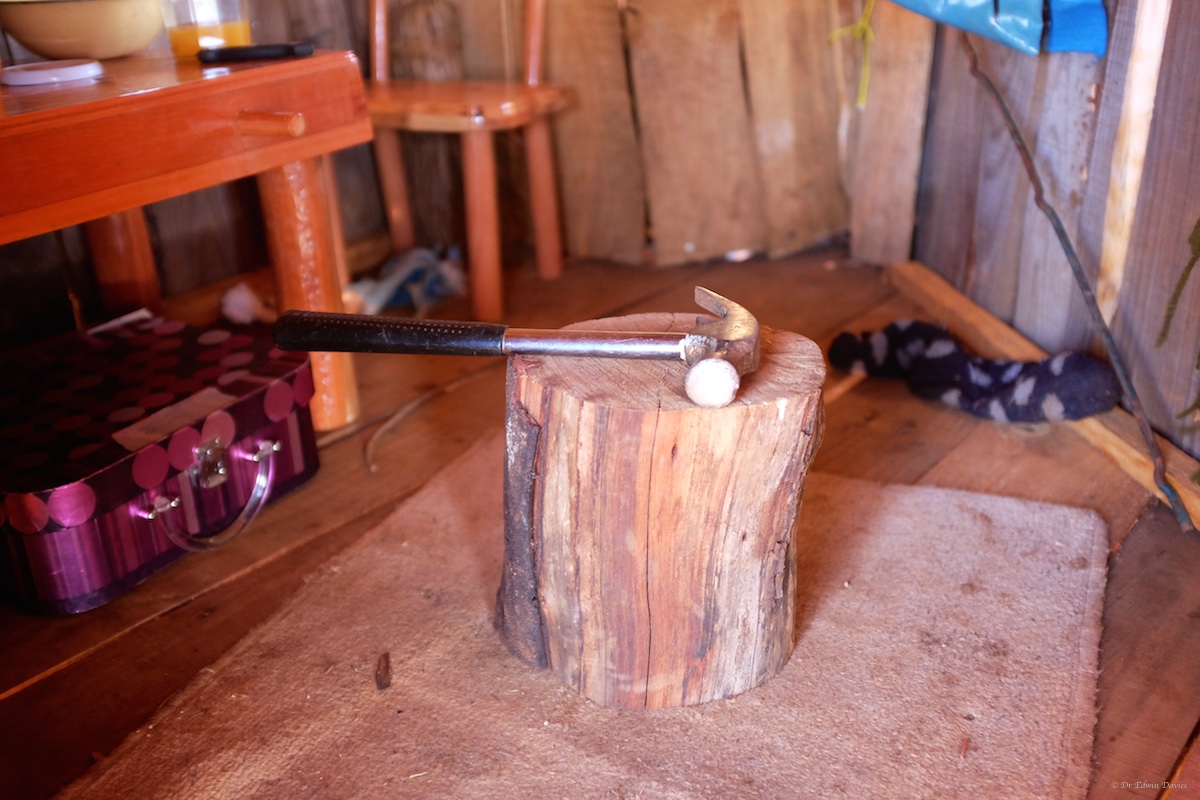
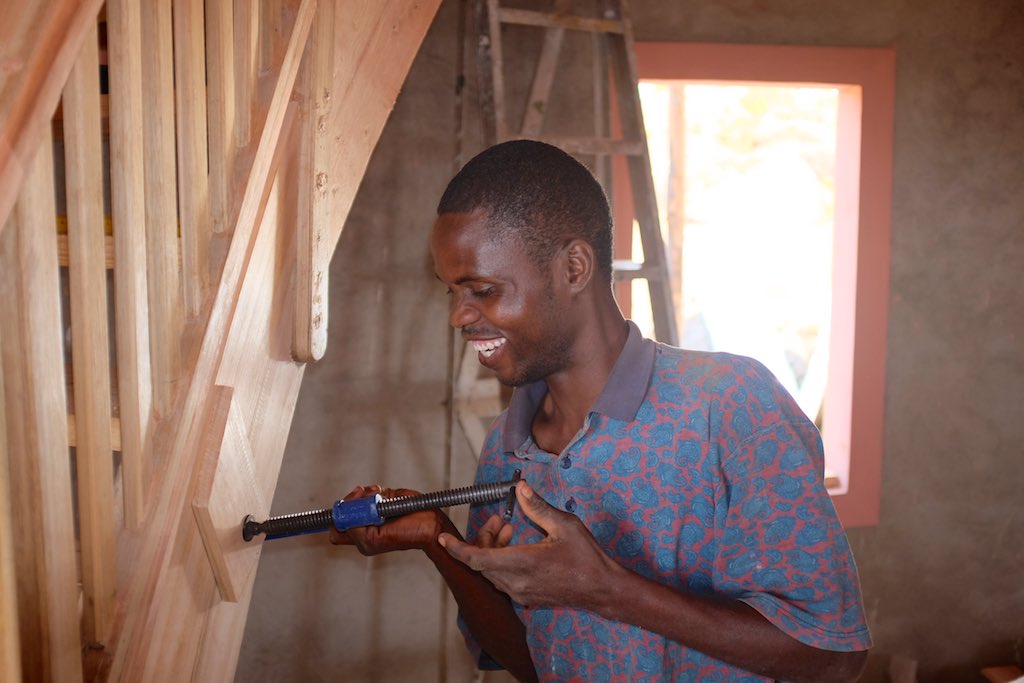
I’m sure there is a technical name for this device – ‘fence grabber’ will do for now!

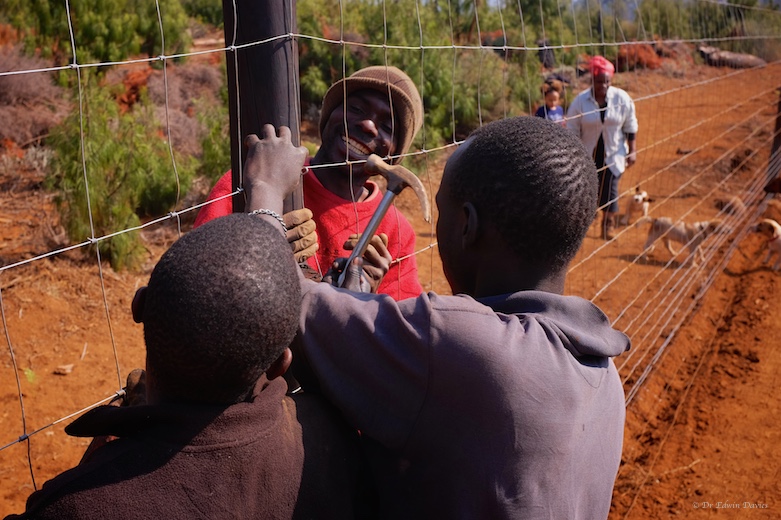
Using our custom made fence grabber for the first time
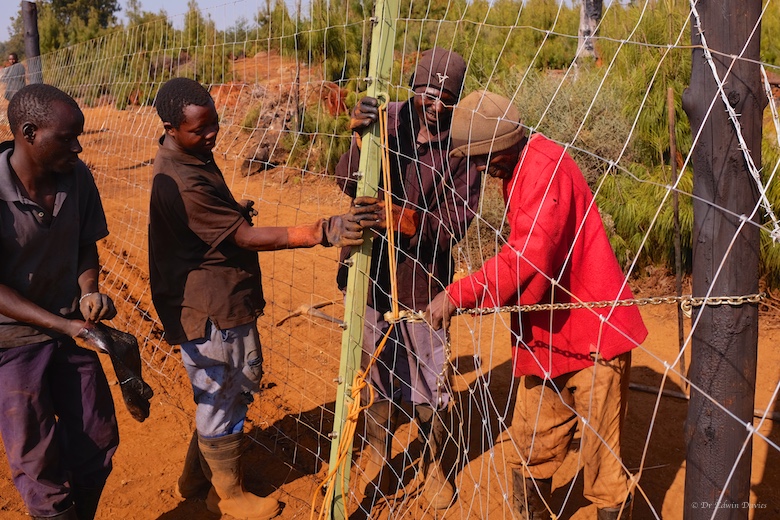
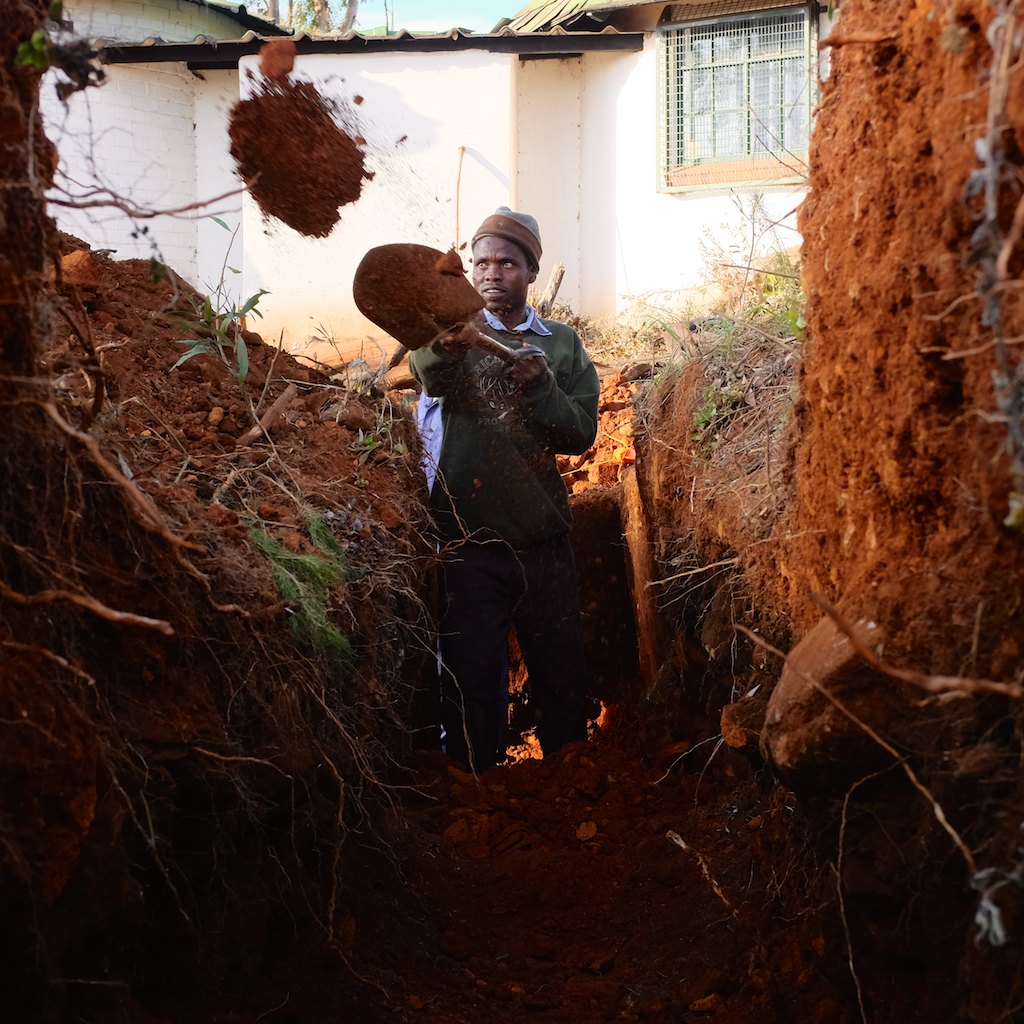
To pull the fence tight requires the use of a fence puller. The puller is tied on to the grabber (which is temporarily screwed down onto the fence) and then itself wraps around the straining pole (right of picture below). The straining pole has extra (barbed) wire tied down to a large stone(s) buried in the ground. You can just see the barbed wire below top right.

George attaching the fence puller to the fence grabber
As we learnt the hard way – the chain must not be twisted or else, sooner or later, the puller cannot grab any more links as they are twisted out of alignment compared to the jaws.

The chain must not be twisted!

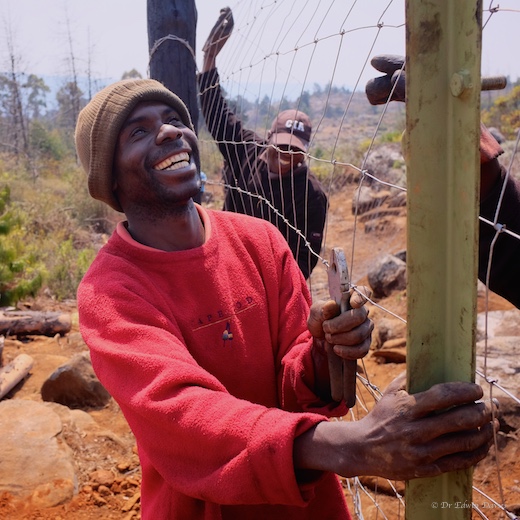
George happily inspecting the fence grabber
The whole lot is tightened using the jaws, one by one, to grab and slide over successive chain links. There is a lever coming off to left below which provides the manual driving force.

The fence puller jaws

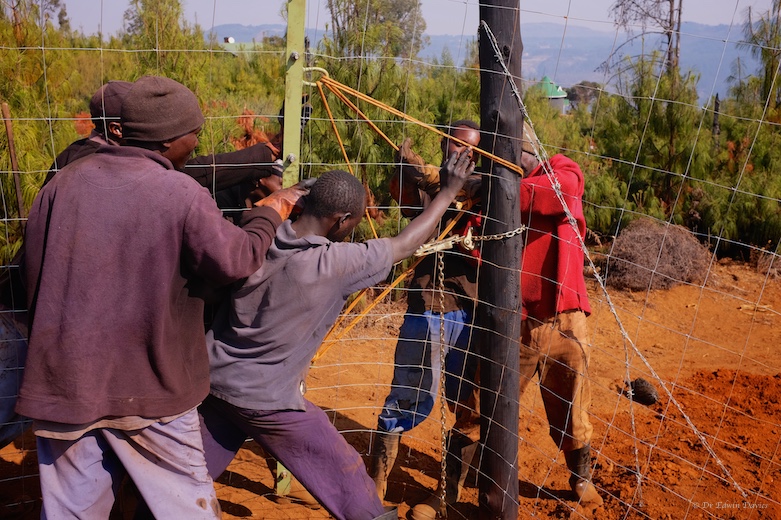
Manually helping the fence puller create that tension

Helping the fence puller along

Fence held tight by the puller

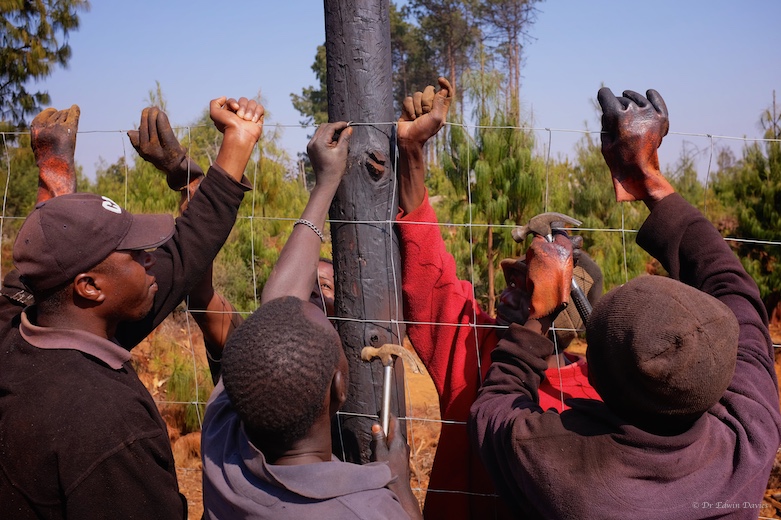
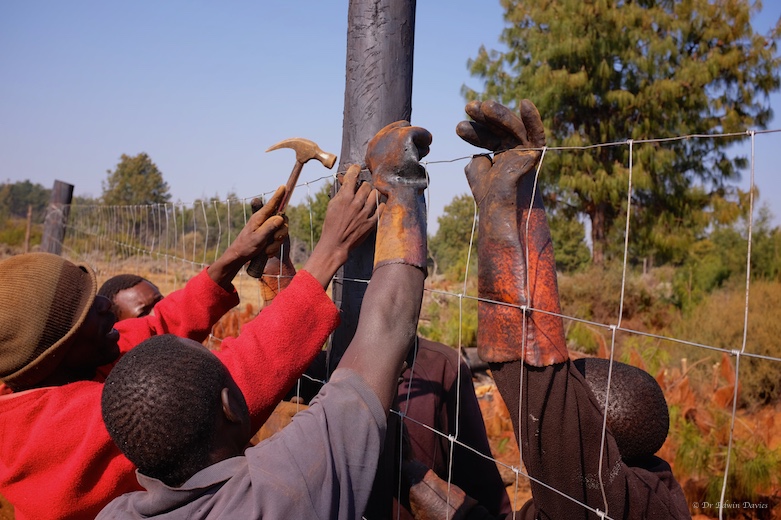
Hold the tensioned fence against each post

Nail the fence up everyone!

Nail it Garikai!

and repeat for 4.5 km
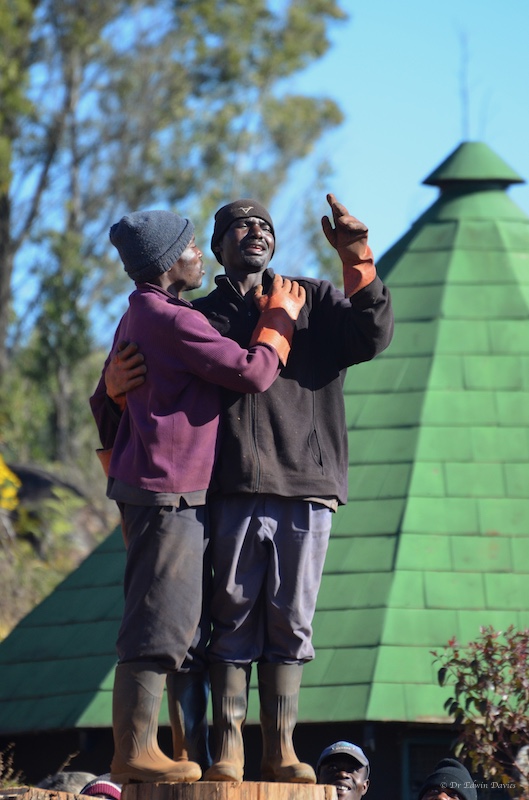
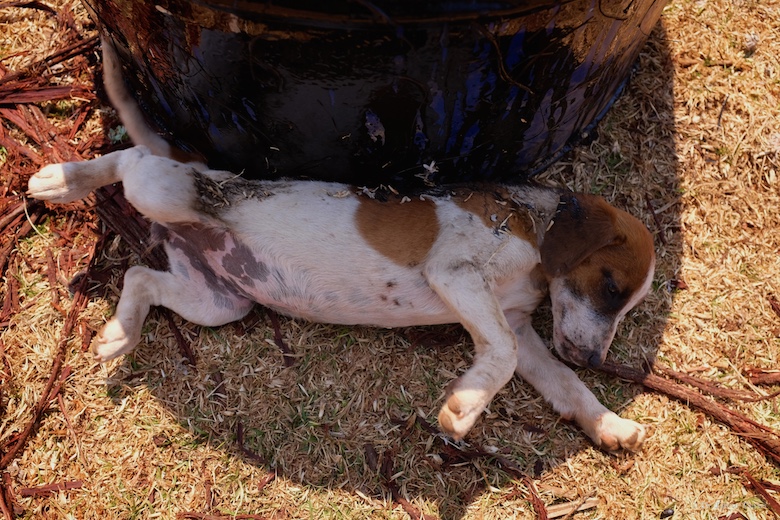
And if you must be tarred and feathered at least don’t do it to yourself ‘Hamletta’!

Tarred and feathered

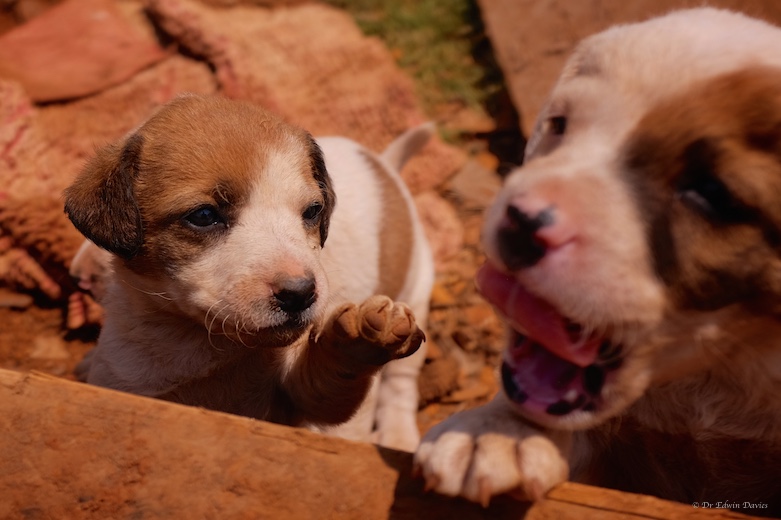
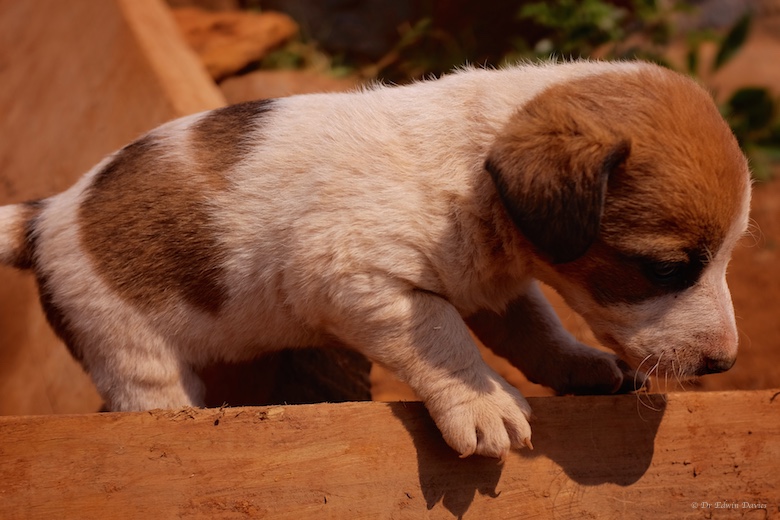
New litter of five Jack Russell puppies

New litter of Jack Russell puppies
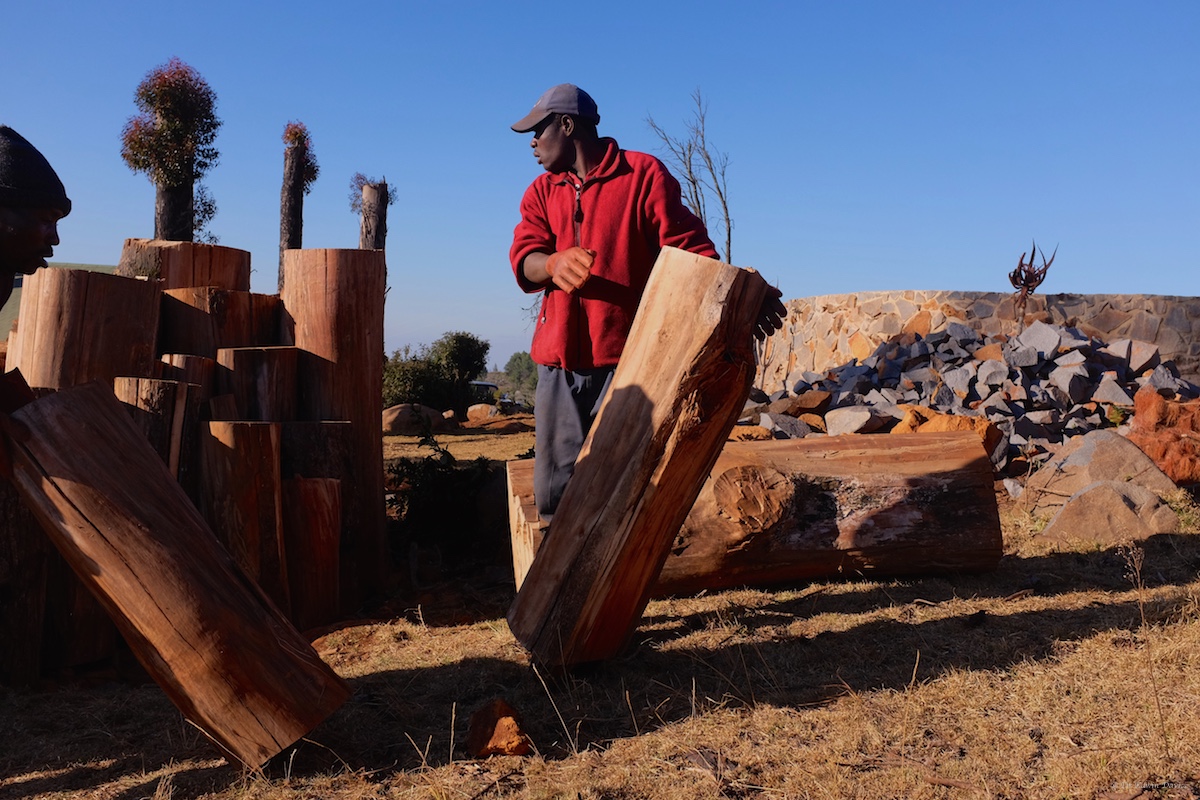
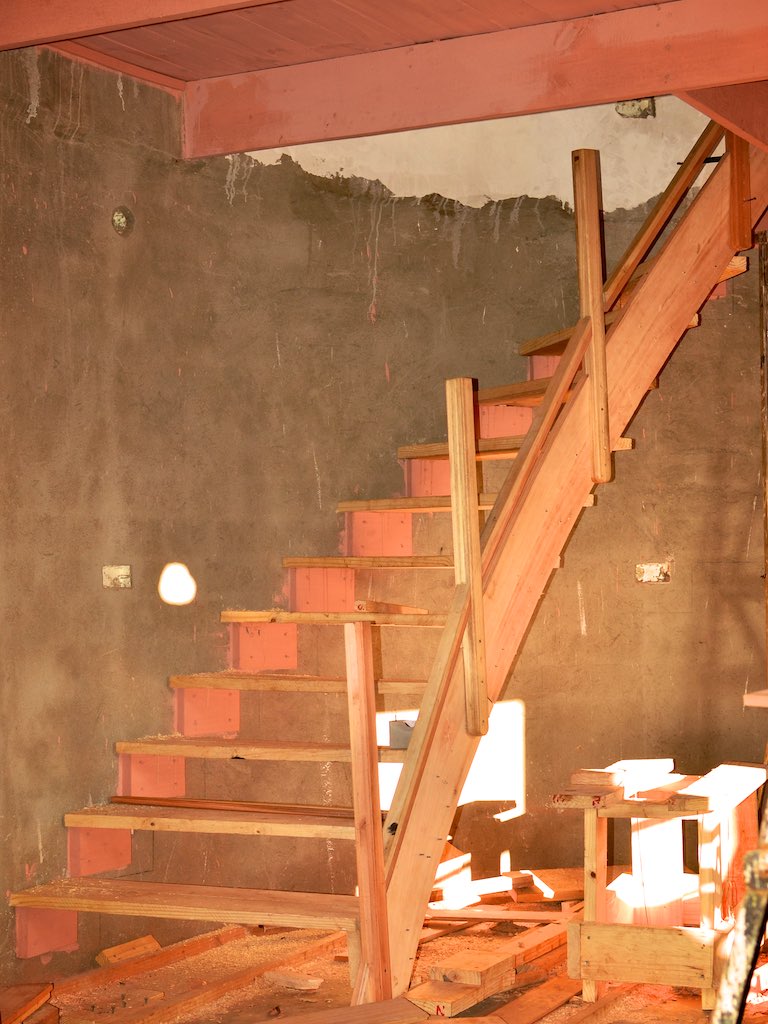
And, finally, more of our home made poles ready to continue the fencing journey.

Our lovely home made poles