Building a real log cabin – 18 months on

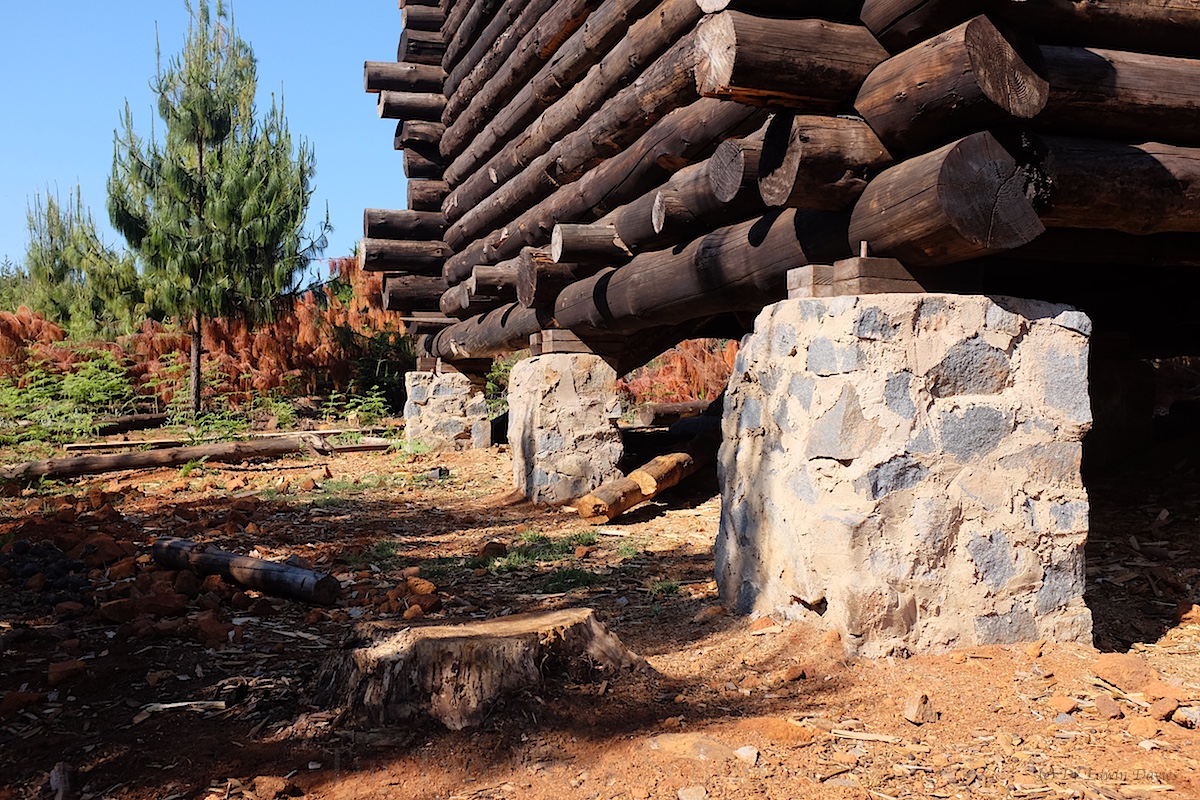
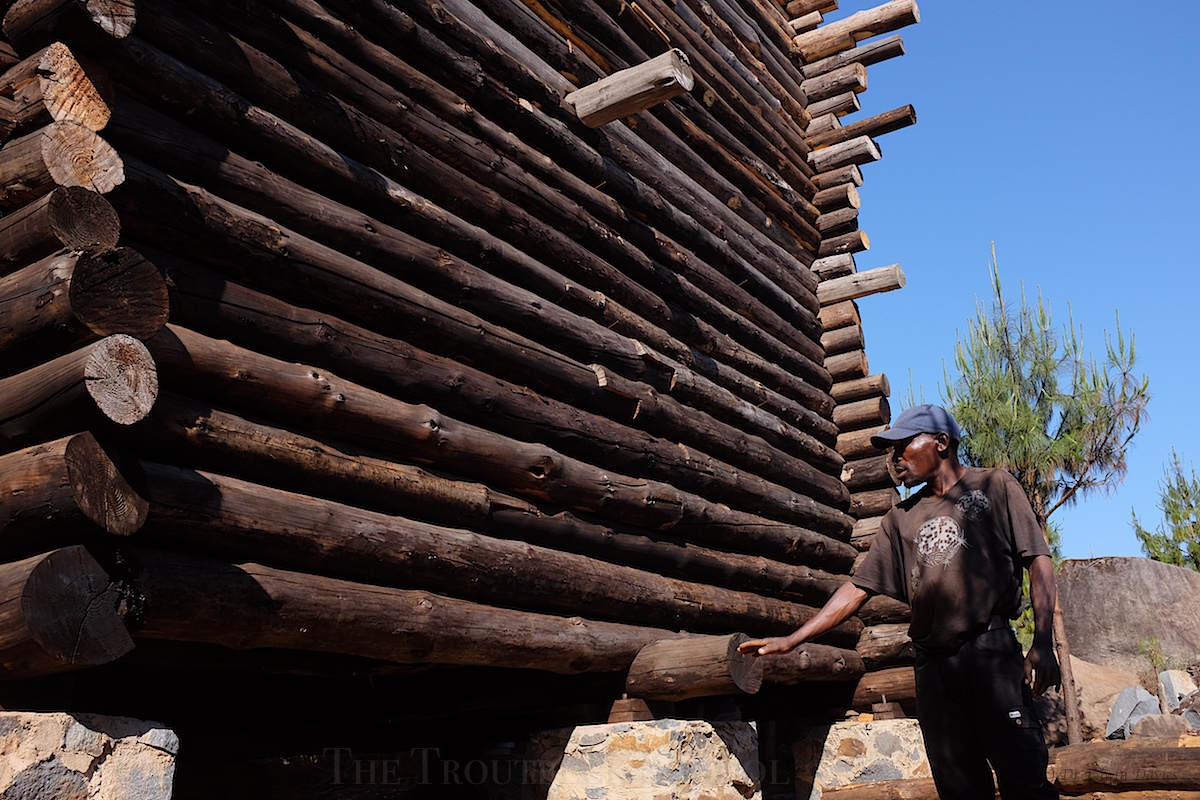
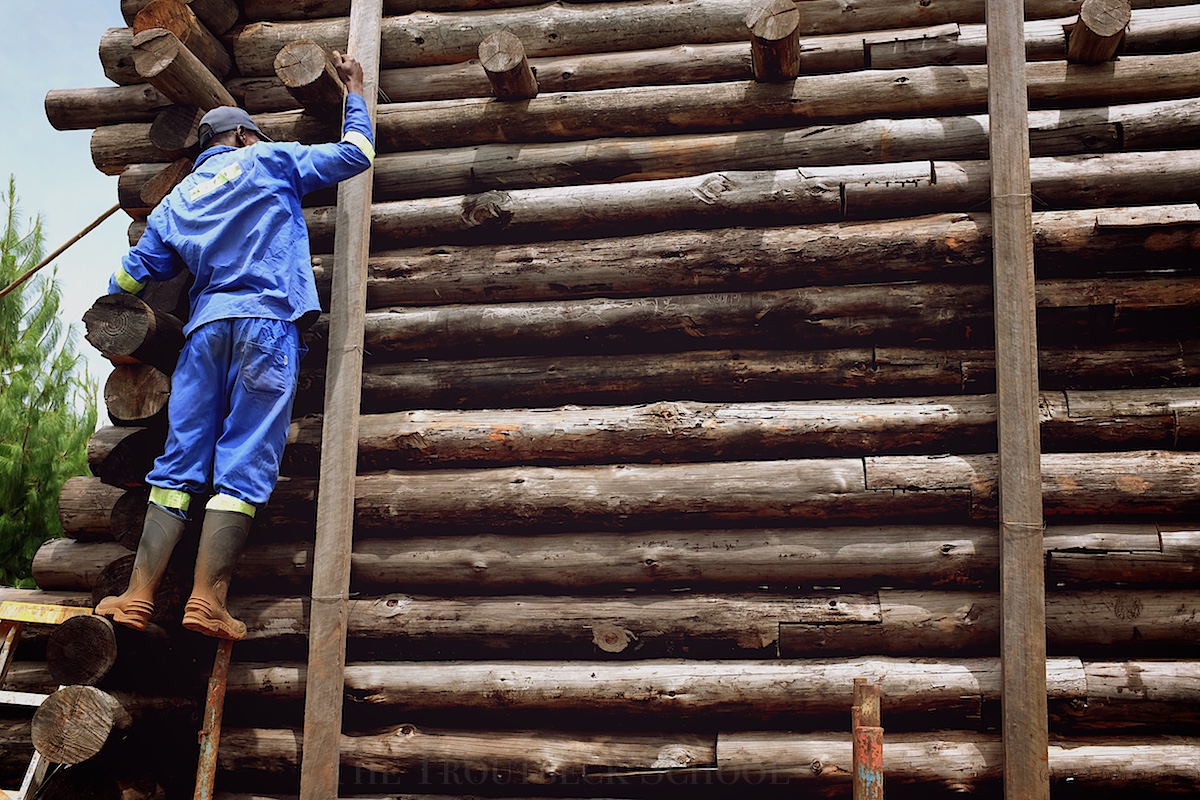
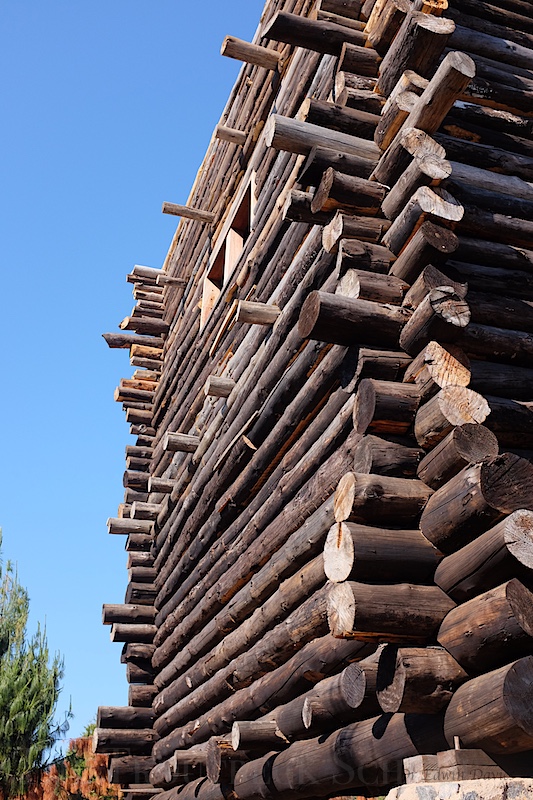
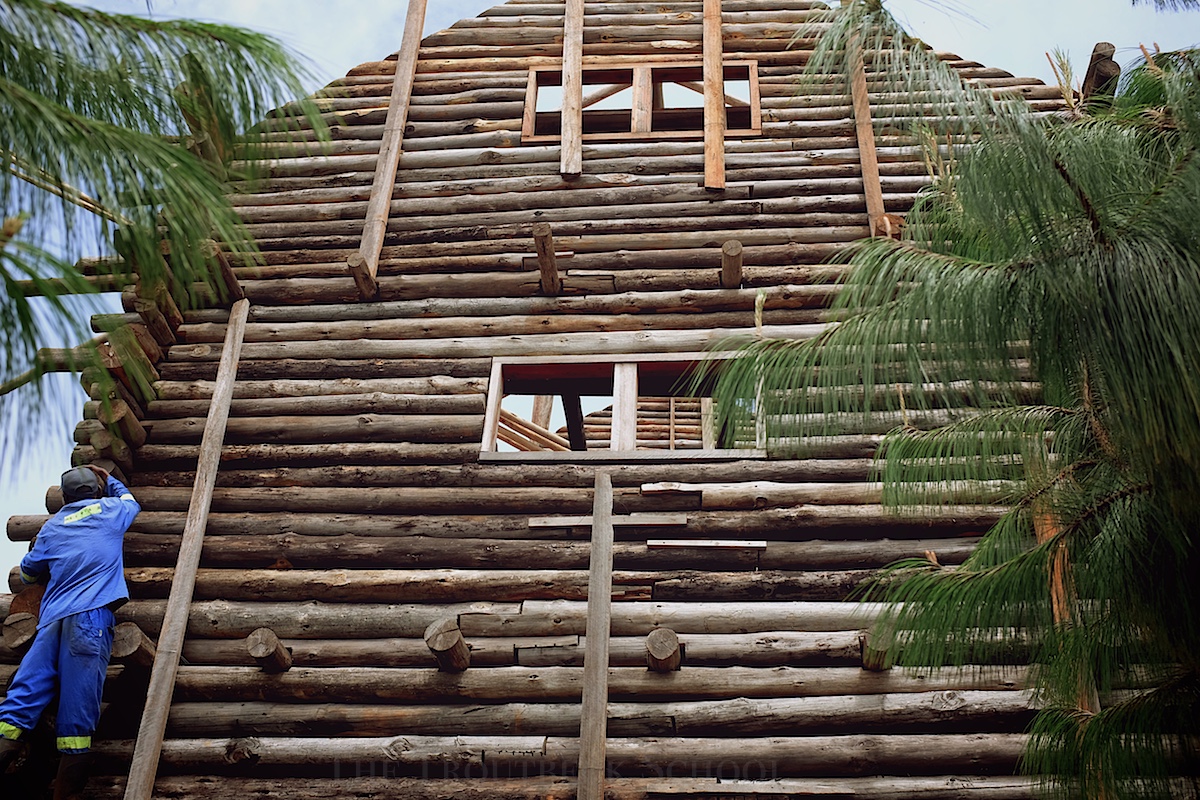
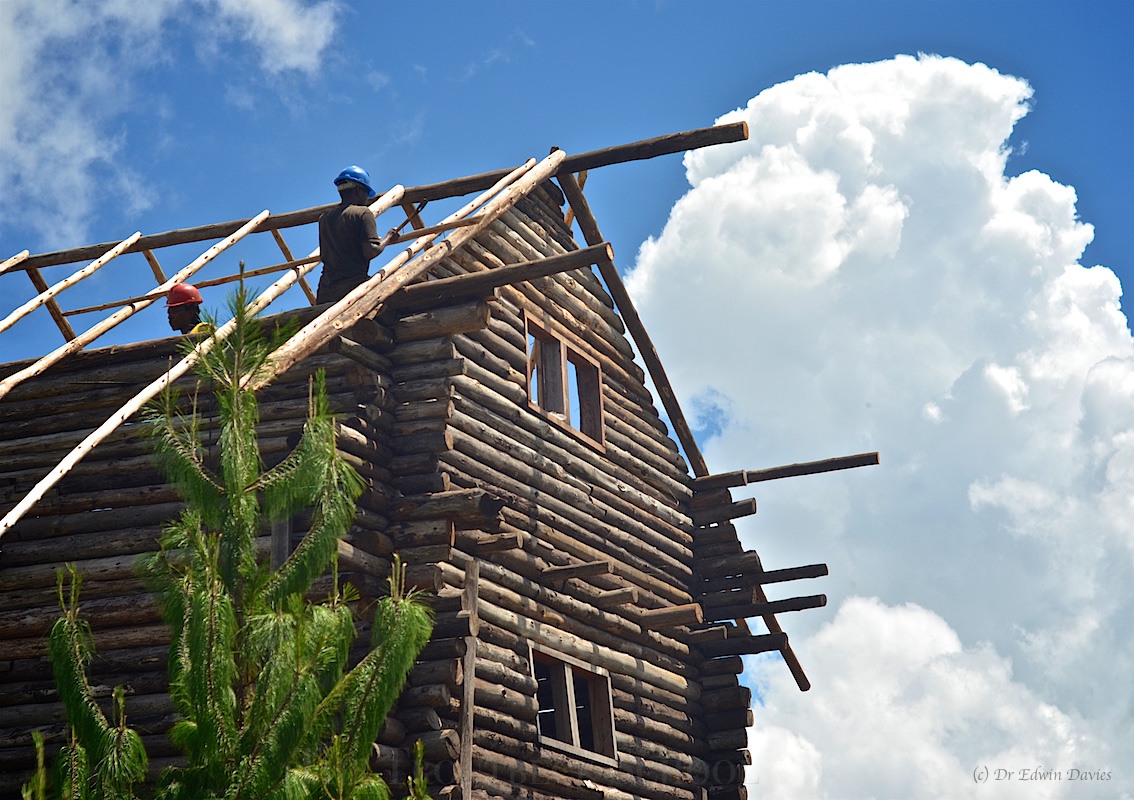
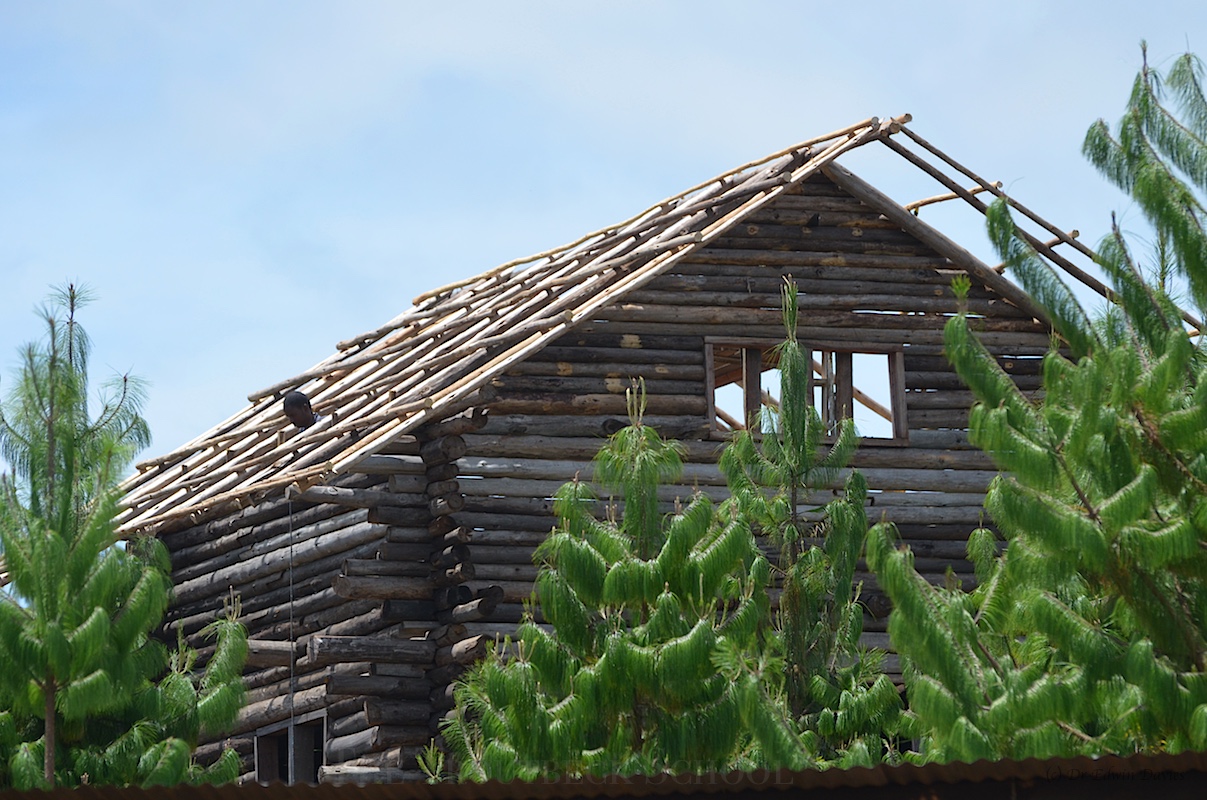
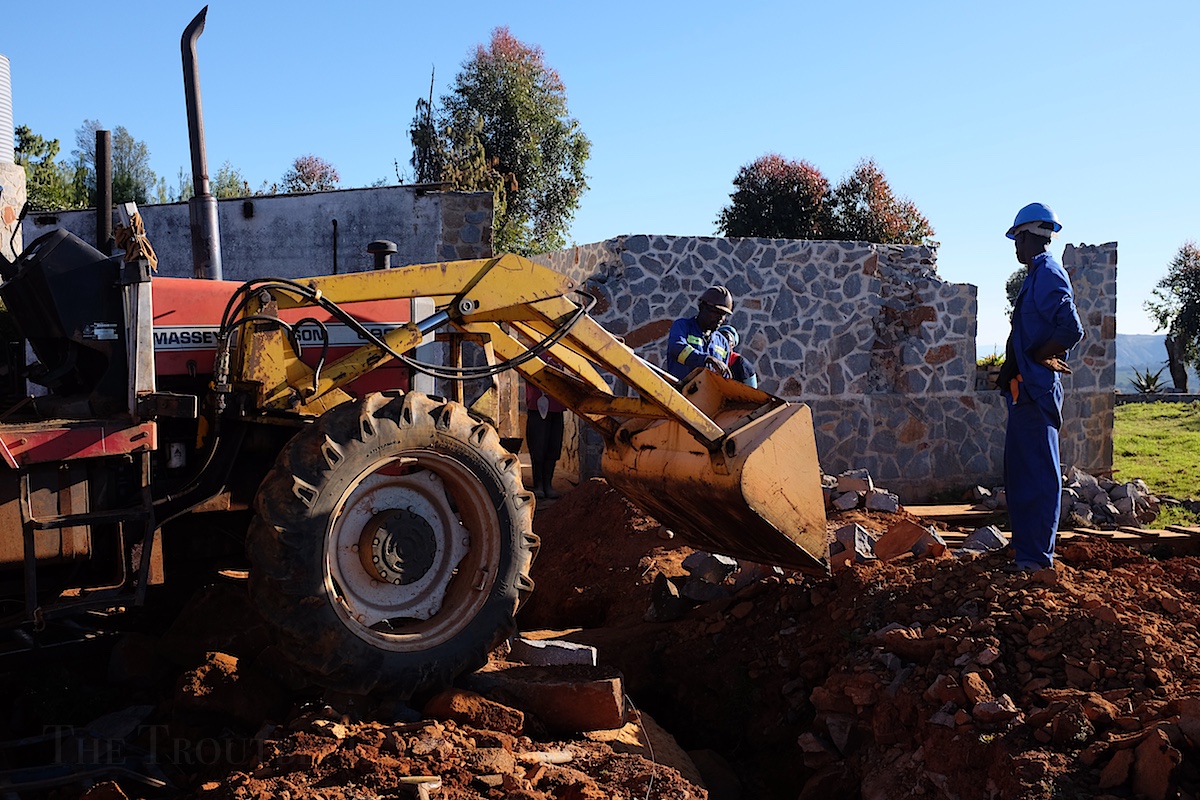
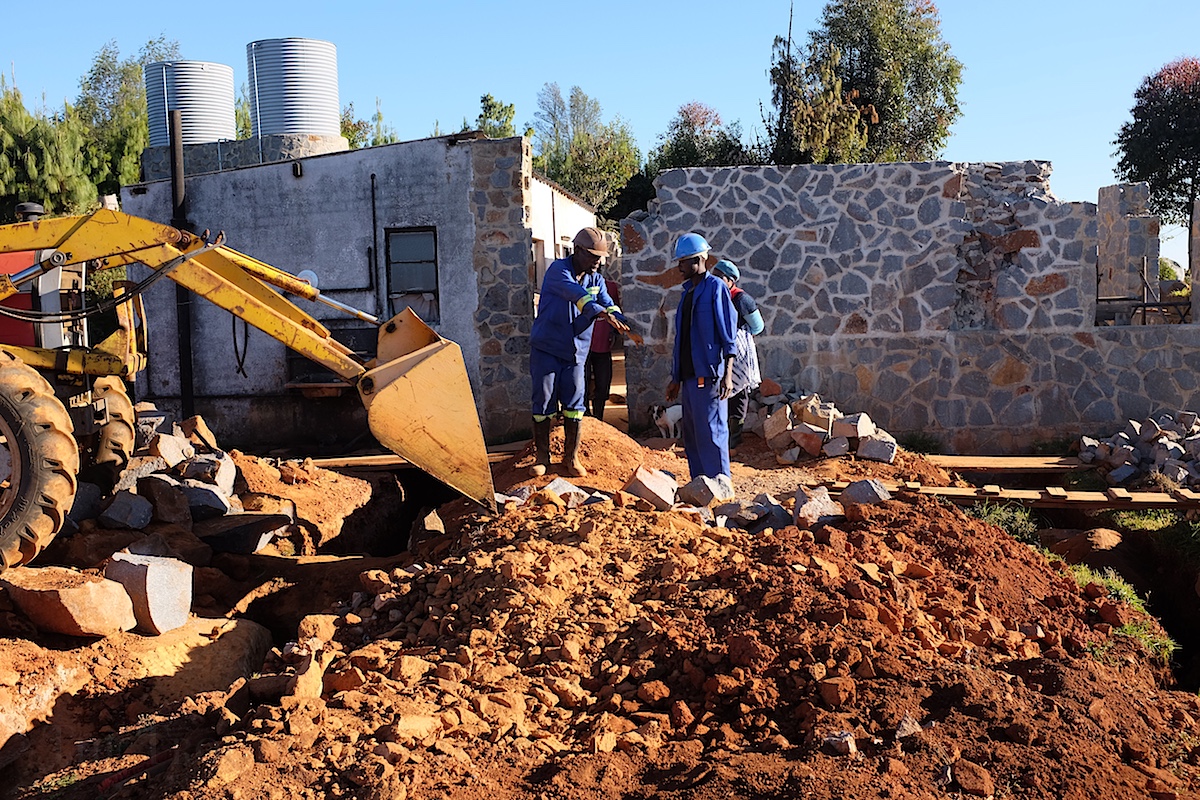
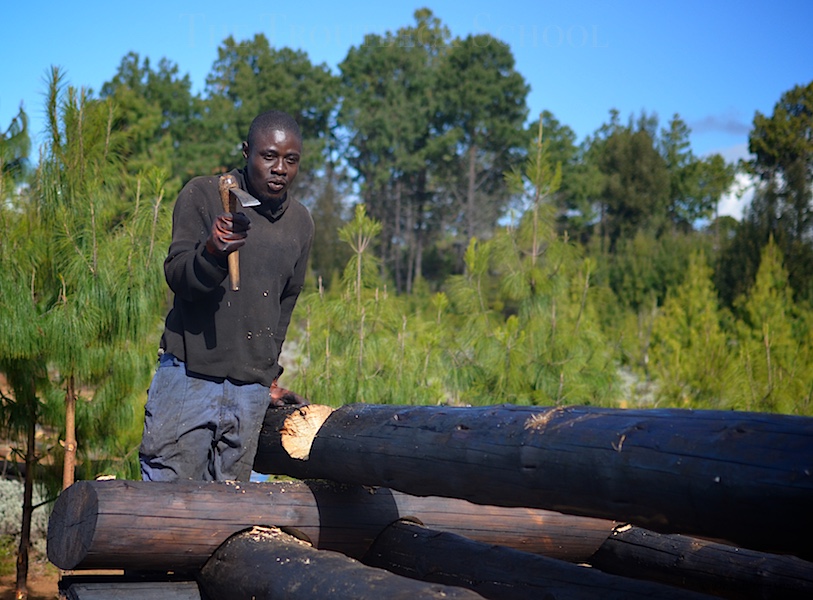
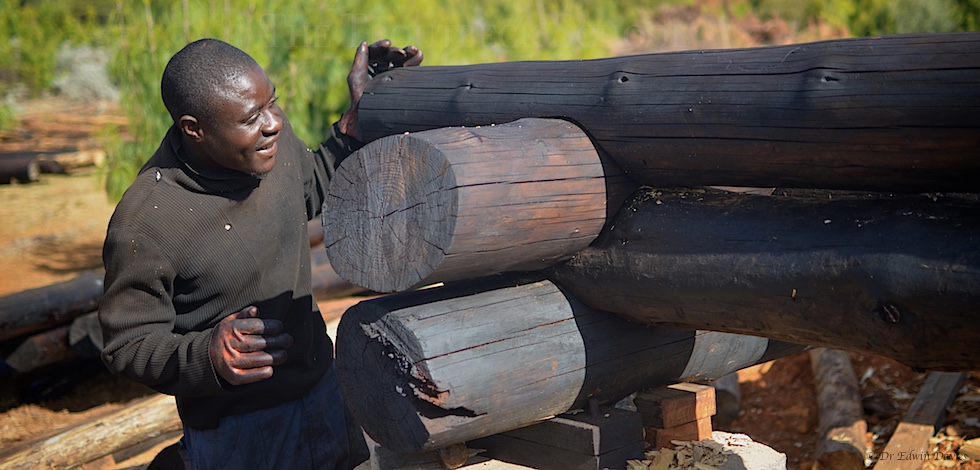
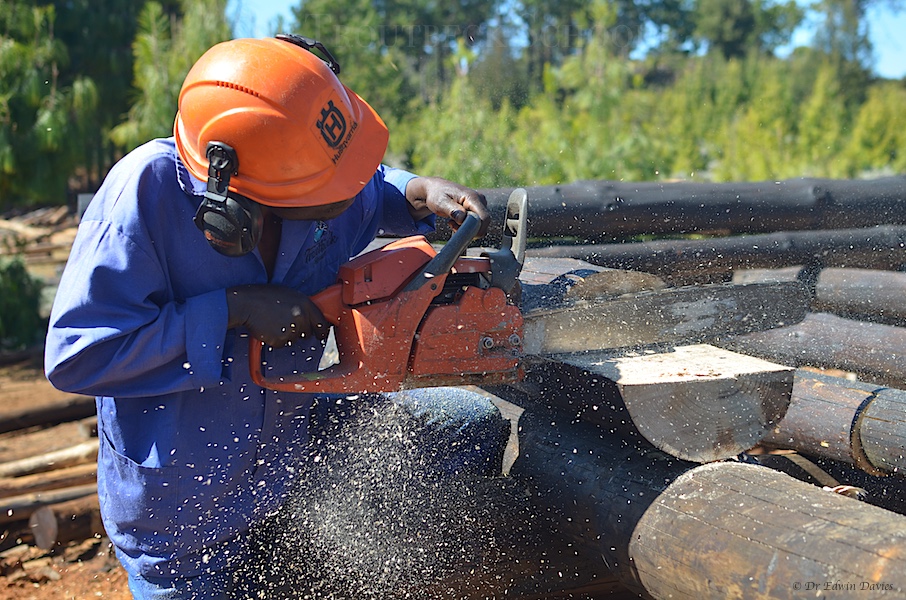
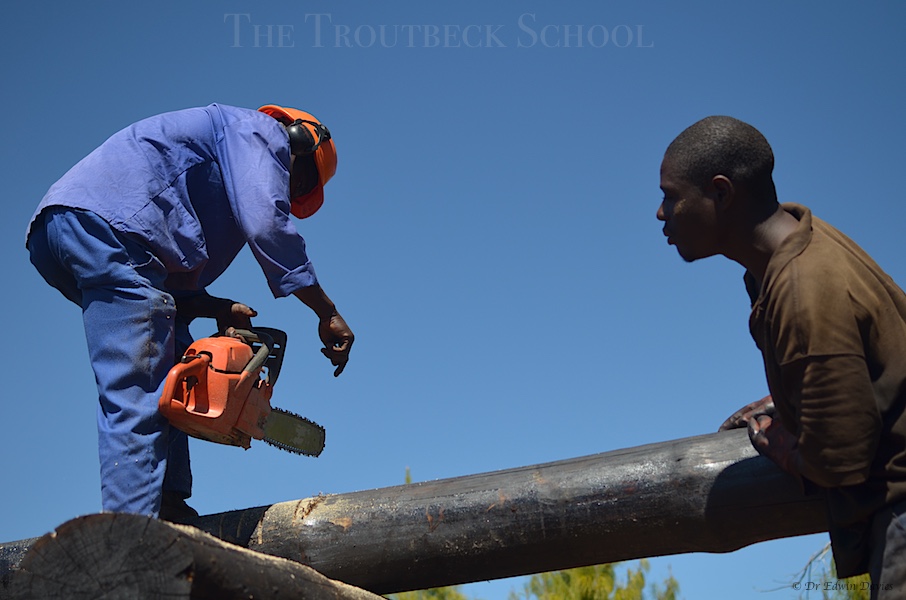
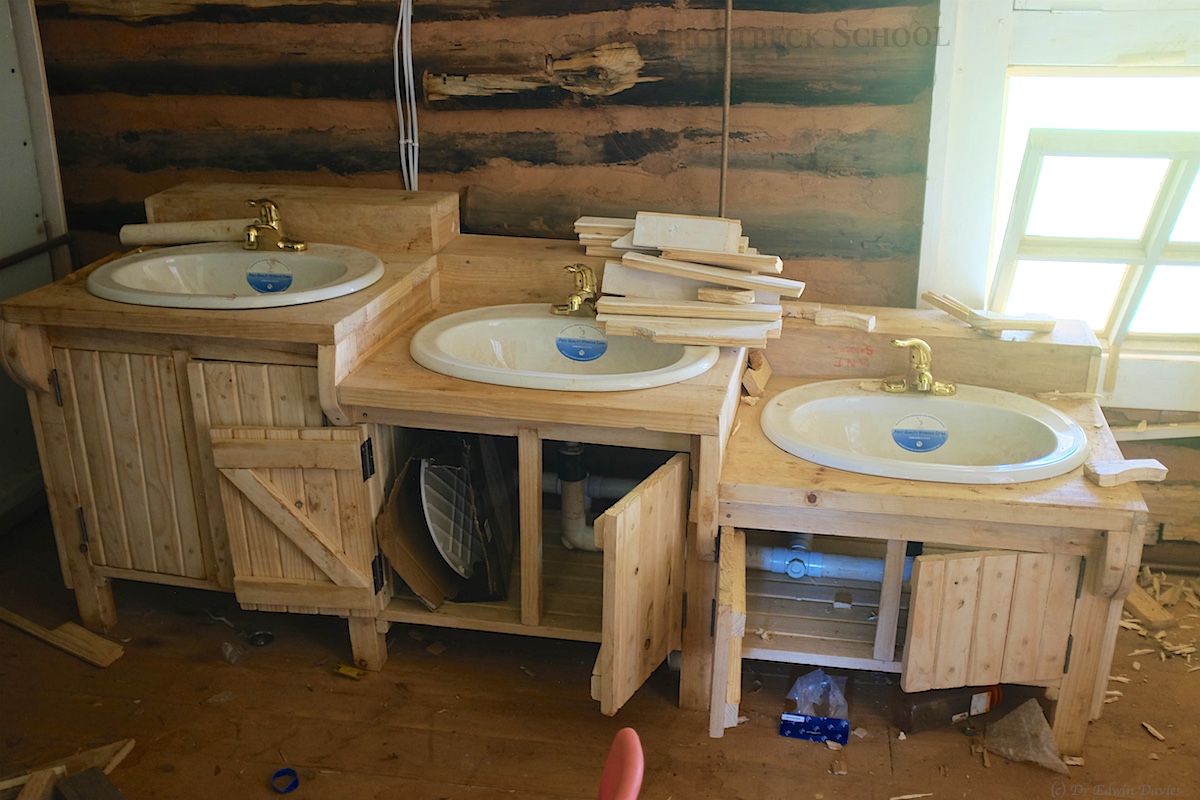
As with all good building projects progress takes time! We are now ‘semi-finished’. The building work is long since complete. Fit-out of the interior is just about there (room partitions, doorways, wall lining, stairs, built in beds and storage, bathrooms, toilet cubicles, showers, and more). Plumbing….mmm tough one but it’s coming.


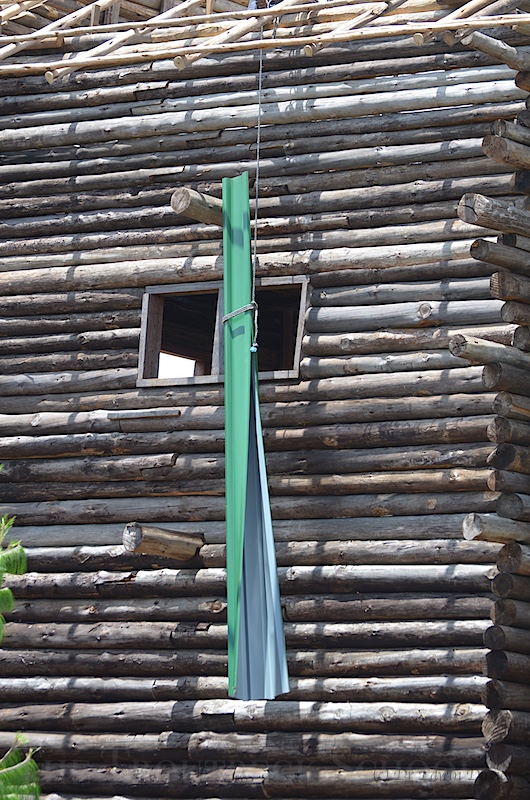
Square ‘Hobbit-style’ doors cut through the log walls


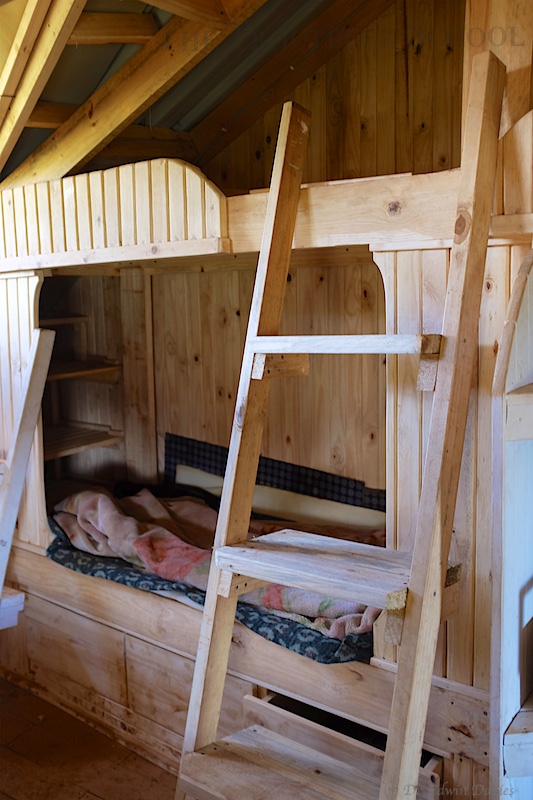
Bunk bed to the right of picture above


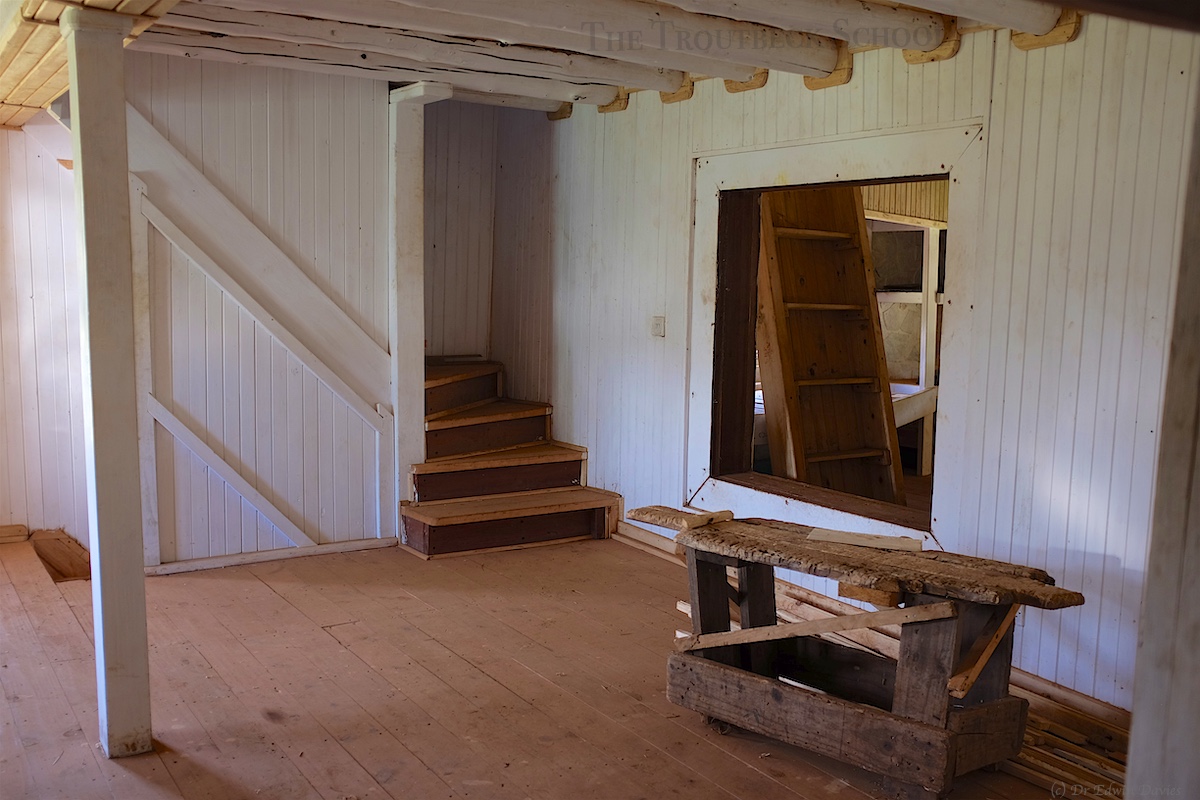
That square doorway from the other side. Stairs up to 3rd level.


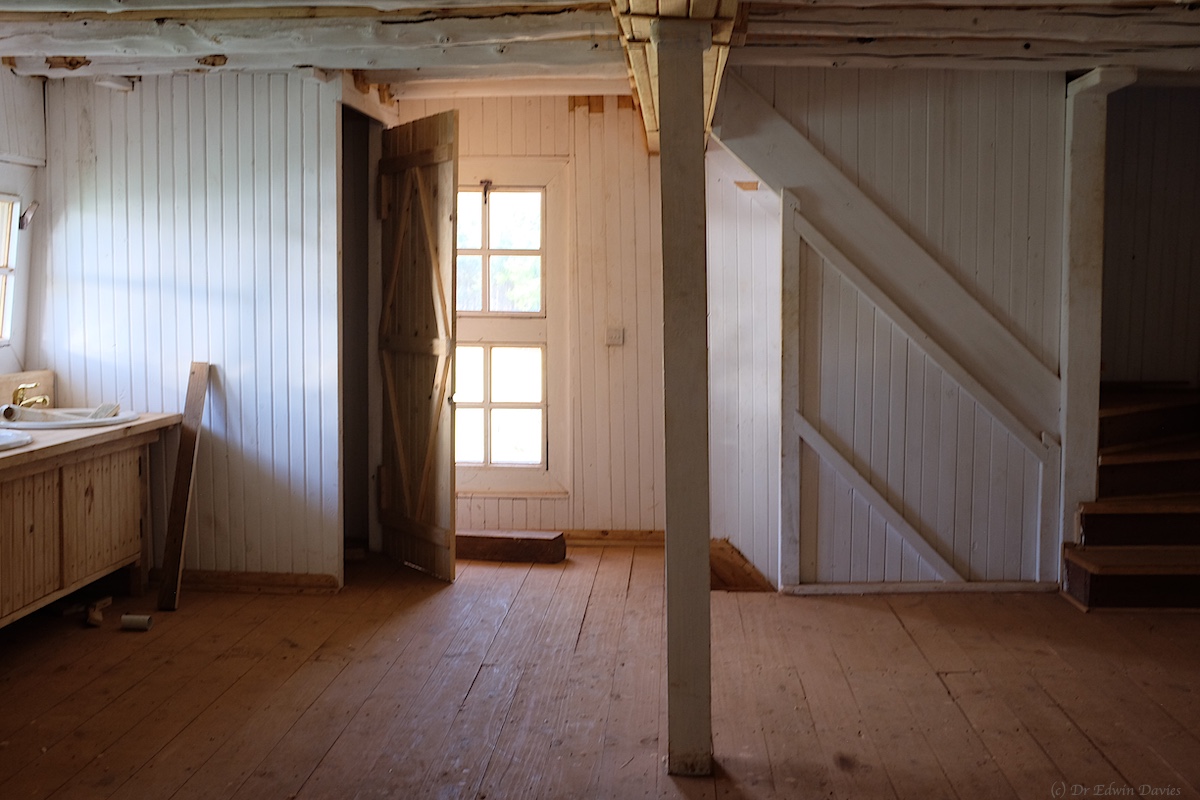
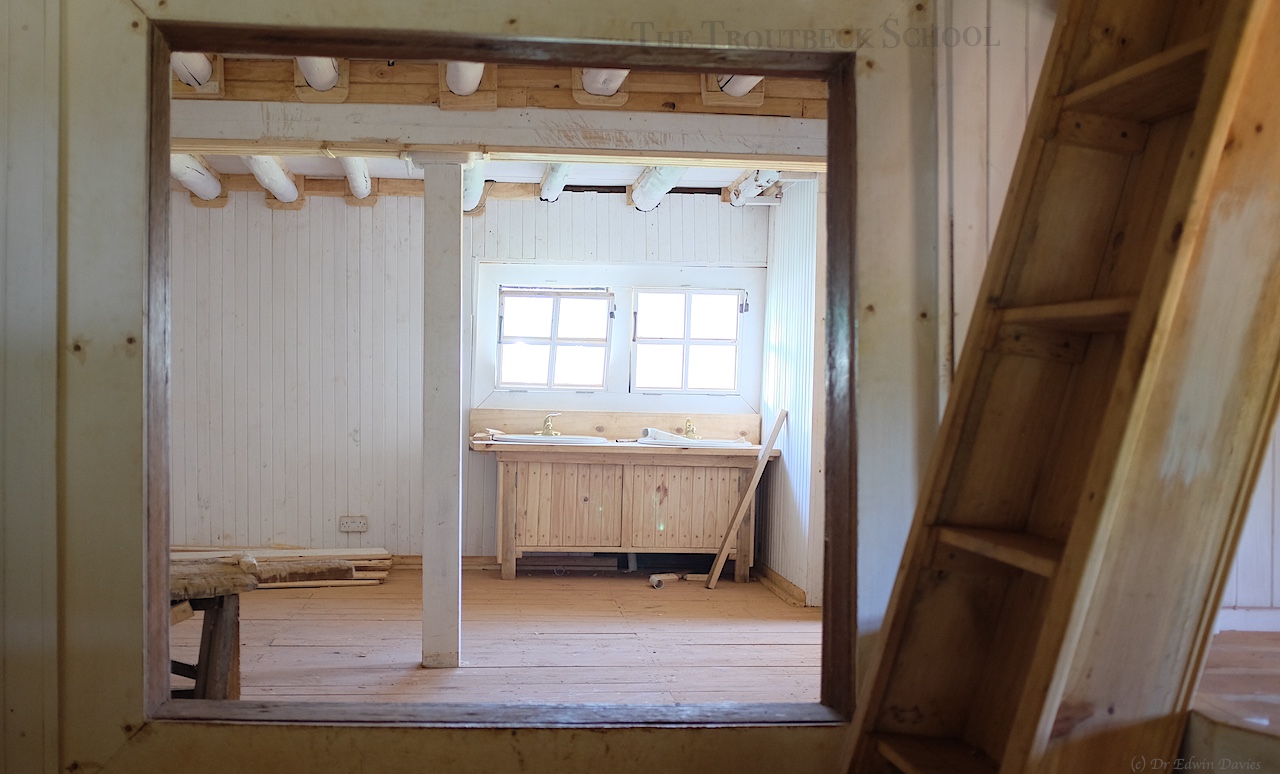
Further to the left – toilet cubicle and sink. Stairs down to immediate right of window.


Off to a different room.

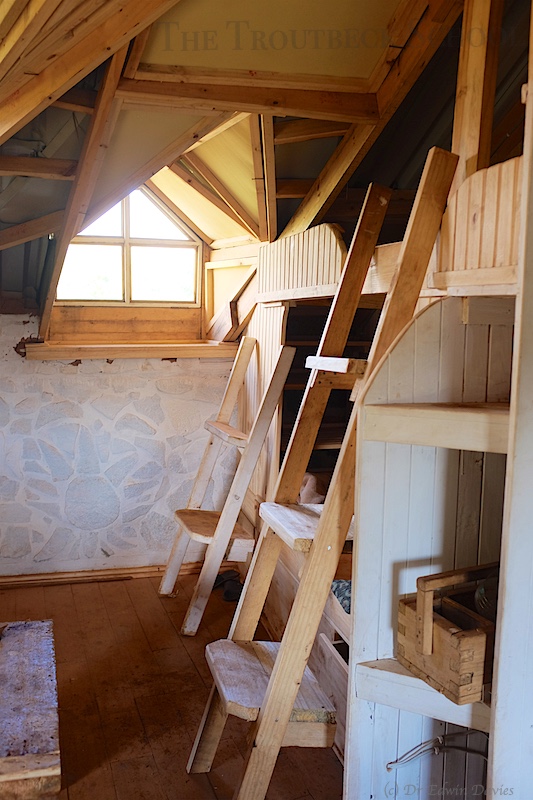
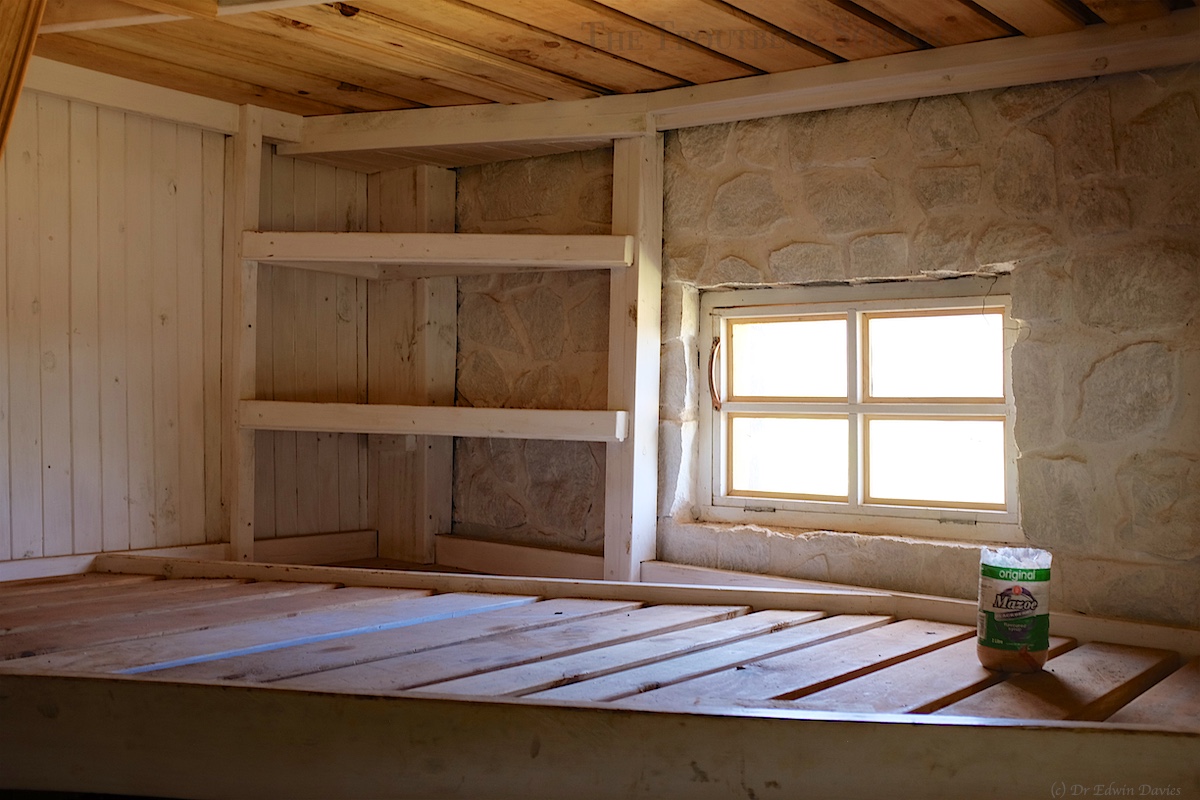
Bunk bed under dormer window


Same room – other direction

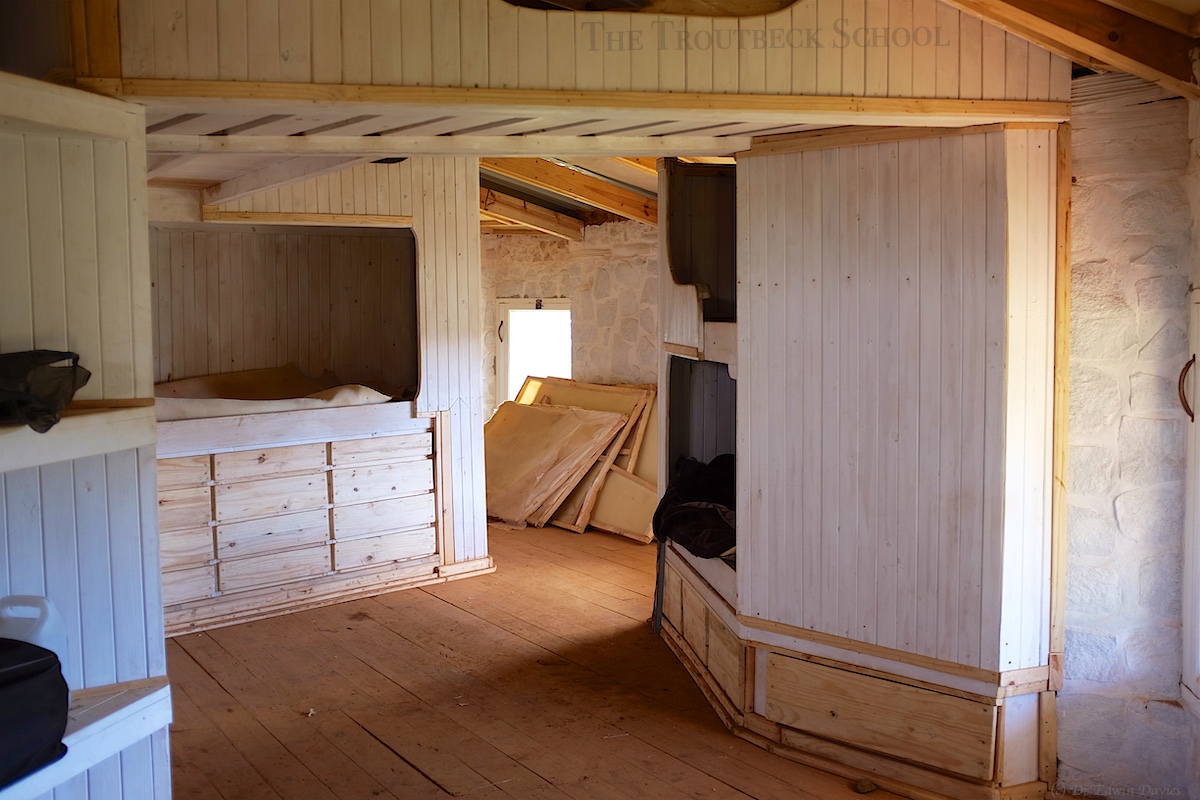
Now we play spot the beds – there are 5 you can just about see!

One bed in the opening above the draws – then there is a top bunk bed above that (hidden in this picture). Bunk beds to the right with draws underneath. That makes four beds. And the fifth bed – it’s flying overhead.


Including the fifth bed over head! (Built like this to customer specification)
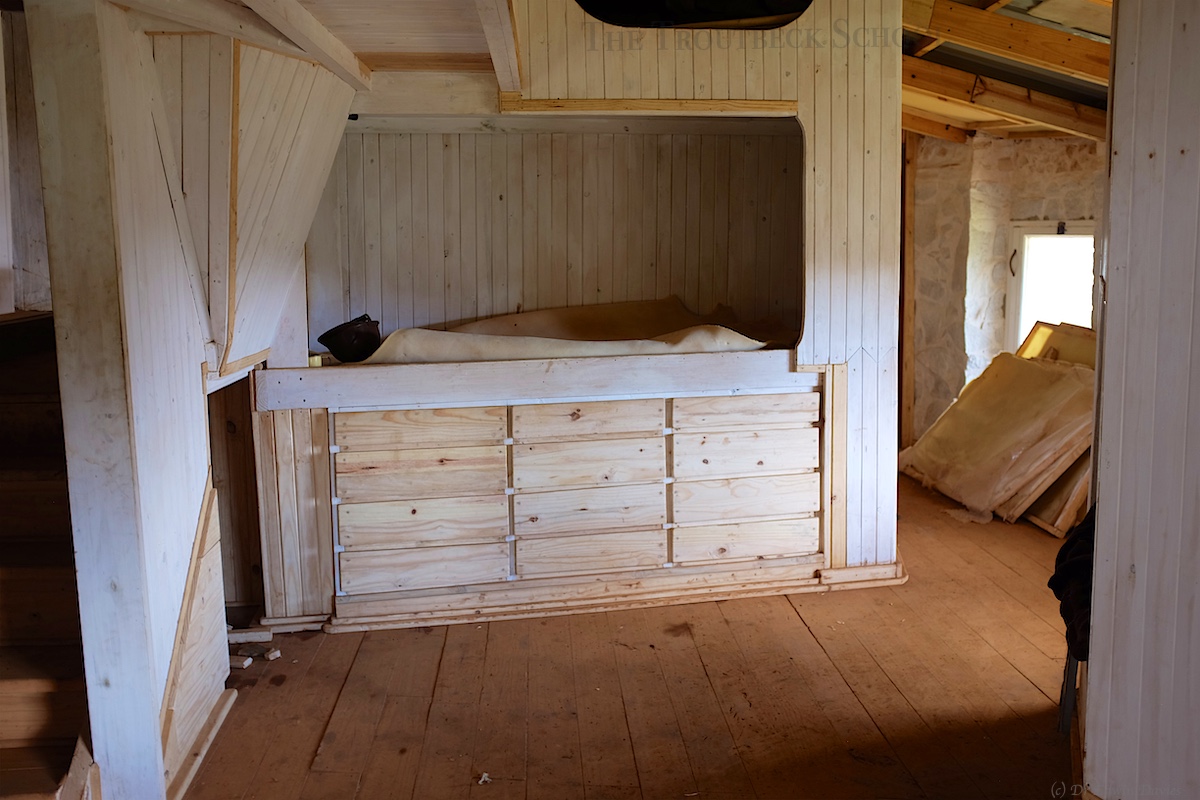
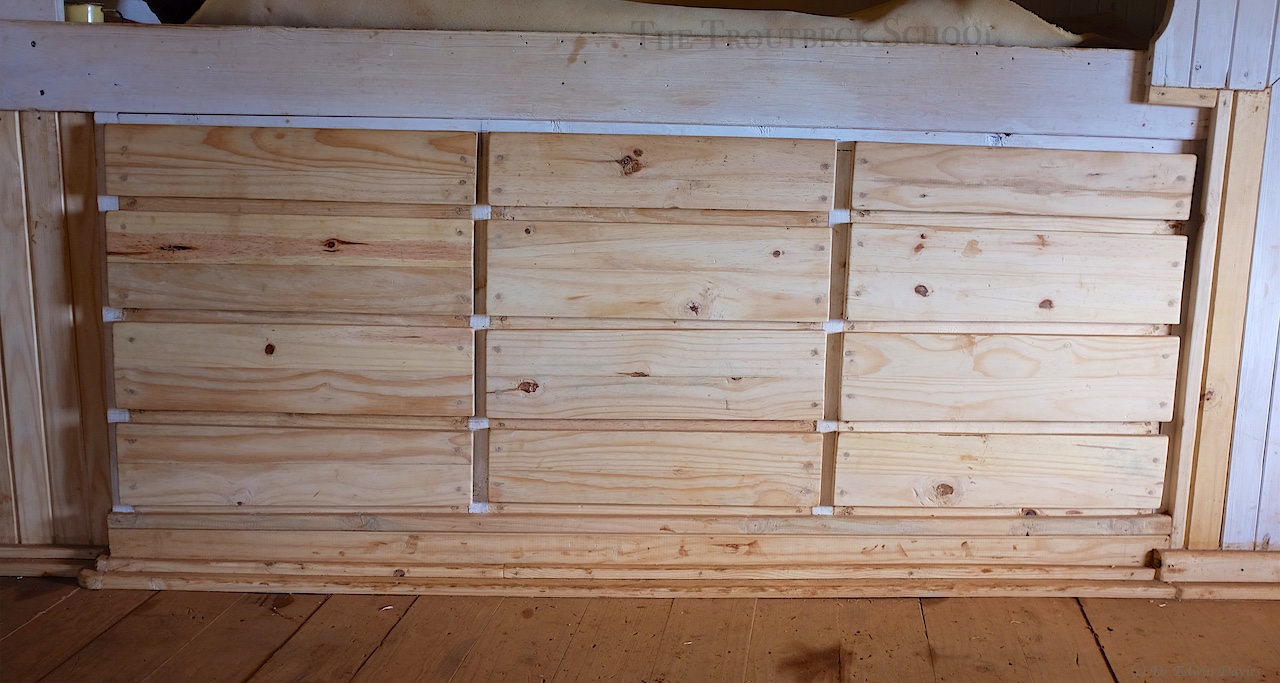
 

With draws


Looking from the main entrance hall to the stairs up to the rooms inside. Doorways to the left up first flight and up second flight to the right. Split level design (nightmare).


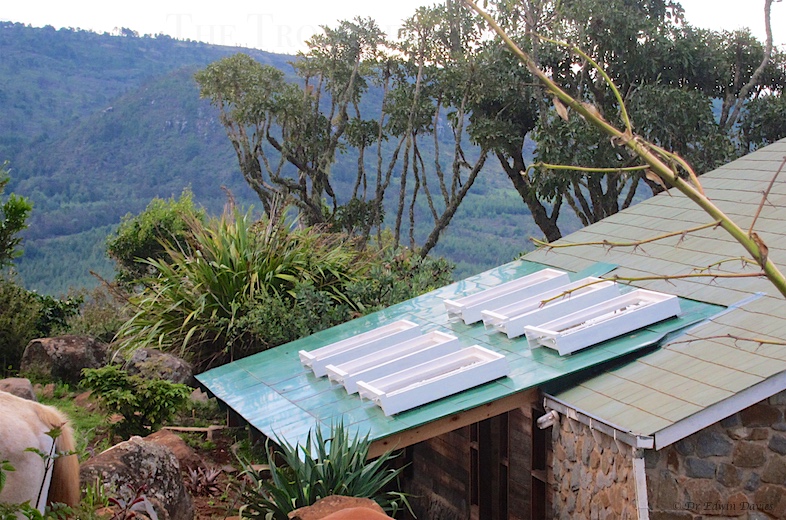
And did I mention the plumbing!


Building a real log cabin – part 3 – topping out and the roof

If you remember in the last post, a year ago, we were at the ground level:

Ground level pillars


Ground level


Ground floor

Going up!


Since then we have added two more levels:


We are currently roofing the structure.

Topping out on our log cabin build


Support for the roofing sheets


Hauling up the roofing sheets


Hurler delivering stones over the trenches and into the building site

Tractor power being used to deliver stones for building the foundations:


Hurler crossing the first foundation trench


Up to the second, internal, trench


We want the stones right here!


On target


A drivers eye view


The drivers eye view

Don’t worry there was a large boulder below the wheel!


The largest we have ever moved!


ROAR!

Building a real log cabin – part 2b – the walls go up


Chainsaw carving the notches a little

Chainsaw carving the notches a little


Smoothing off the knots and branches

Smoothing off the knots and branches


Eddie and George

Eddie and George


Mr Chainsaw

Mr Chainsaw


Balancing?

Balancing?


More lap joints - we were using left over poles not at full length.

More lap joints – we were using left over poles not at full length.


Then finishing with the adze

Then finishing with the adze


George having a go with the adze!

George having a go with the adze!


Resting

Pausing!


One of the adze experts

One of the adze experts


Saw and adze

Saw and adze


At the end of the day!

At the end of the day!


As far as we got the walls up

As far as we got the walls up


Collecting our own full length gum poles below the school

Collecting our own full length gum poles below the school


Months later here we are burning stones for building

Months later here we are burning stones for building


Building a real log cabin – part 2a – from bow saw to chain saw

More pictures of the team in action on last winters log cabin building project… Ah winter – full of dry, warm(ish), sunny days….


Initial cross beams and foundation pillars

Initial cross beams and foundation pillars


Notching for the floor joists

Notching for the floor joists


Notched beam going over the floor joists

Notched beam going over the floor joists


Didymus

Didymus


building a log cabin

Building a log cabin


Checking the corner joints

Checking the corner joints


Checking the corner joints

Checking the corner joints


From bow saw

From bow saw…


to chain saw - smoothing the knots

… to chain saw – smoothing the knots


working on those lap joints with the chainsaw

working on those lap joints with the chainsaw


Now let's agree where you want me to cut!

Now let’s agree where you want me to cut!


Here it comes!

Here it comes!


Building a covered porch and walkway with skylights – part 2

Didymus oiling his saw ready for cutting hardwood

Didymus oiling his saw ready for cutting hardwood


Mr Musodza (Buwirimwe) getting it straight

Mr Musodza (Buwirimwe) getting it straight


and square!

and square!


Simple tools of the trade - a saw and adze

Simple tools of the trade – a saw and adze


Getting to the end of our Swiss style chalet walls

Getting to the end of our Swiss style chalet walls


Eddie

Eddie


The start of the rafters joining from the end of the existing roof onto our new wall and beyond to form an overhang

The start of the rafters joining from the end of the existing roof onto our new wall and beyond to form an overhang


charging the d.lights

Charging the d.lights


George working on the pillar foundations

George working on the pillar foundations


Rafters with six skylight frames

Rafters with six skylight frames: three internal and three external skylights!


The roofing slats go on

The roofing slats go on


and on

and on


getting there now!

getting there now! 


Didi working on the skylights themselves

Didi working on the skylights themselves


Skylights in their initial form

Skylights in their initial form


Pillars supporting the external overhang forming a sheltered walkway

Pillars supporting the external overhang forming a sheltered walkway


Adding chromadek to the skylight frames

Adding chromadek to the skylight frames


Overview of the skylight frames

Overview of the skylight frames


Our roofer in action on the skylights

Our roofer in action 


Porch and walkway with skylights

Porch and walkway with skylights