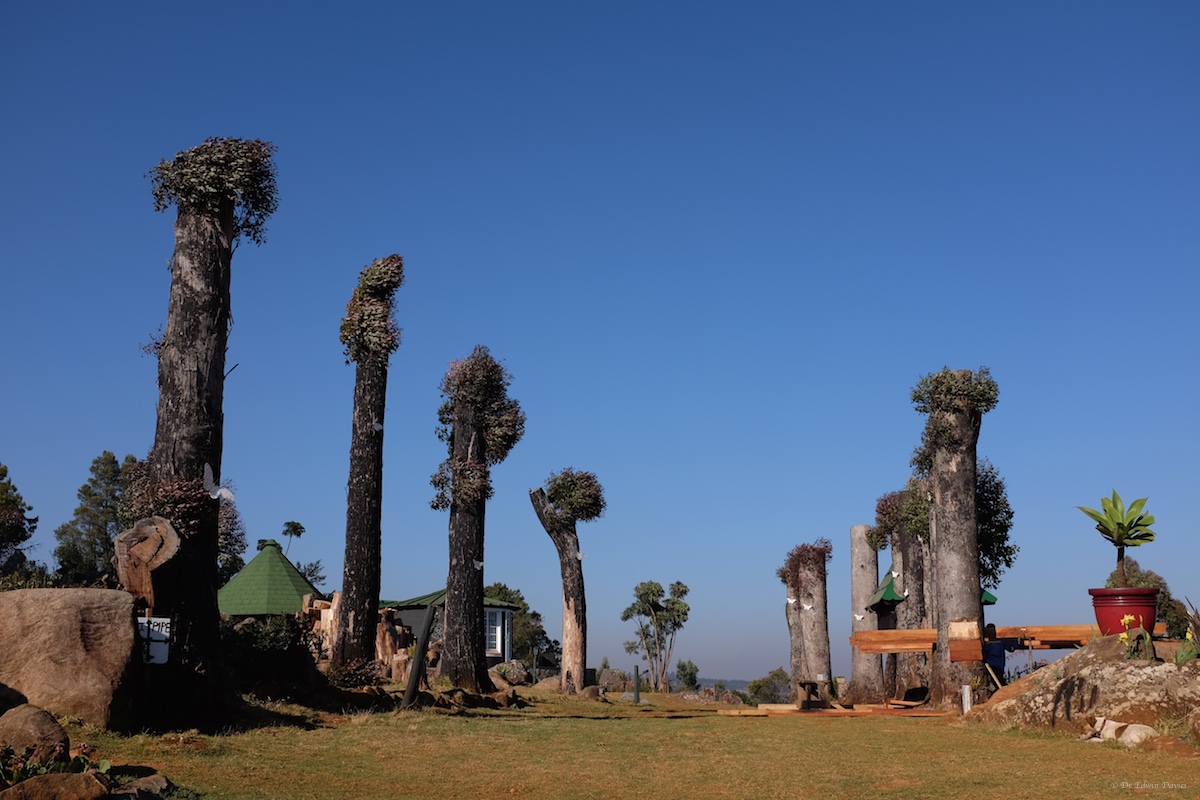
The first things to note are:
a) these trees were due to be cut down completely,
b) instead we coppiced them at 5 metres,
c) these trees are fairly indestructible – witness the new growth on 9 out of 10 trees,
d) these trees are ‘weeds’, ie an imported species that spreads uncontrollably.
The trees were deliberately planted at nice 2m spacing, but off to the sides you can see growth from many new seedlings. Again, if you cut down the seedling the roots survive and grow a new tree!

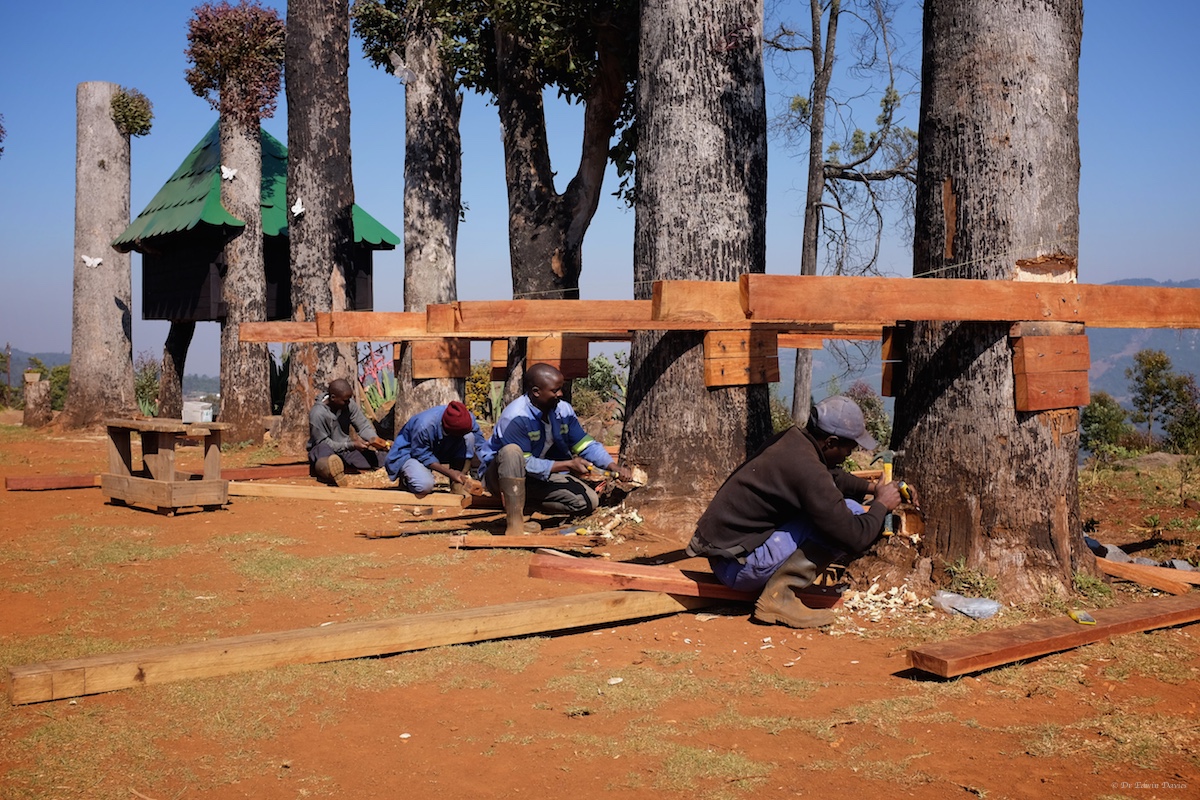
Current avenue of coppiced trees

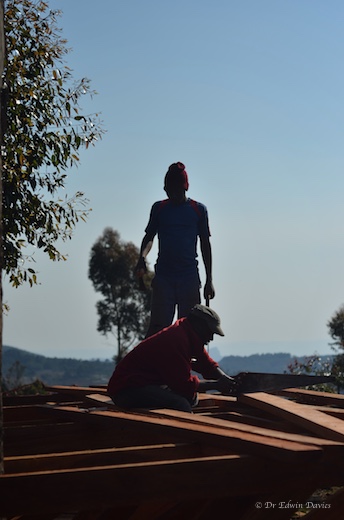
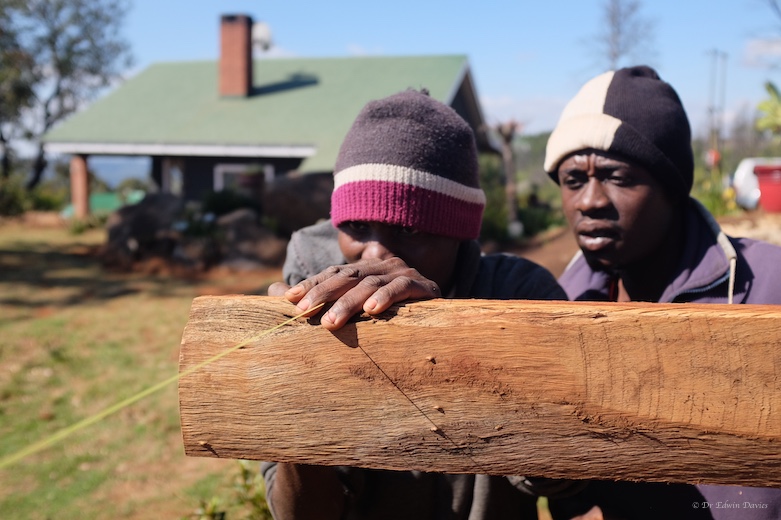
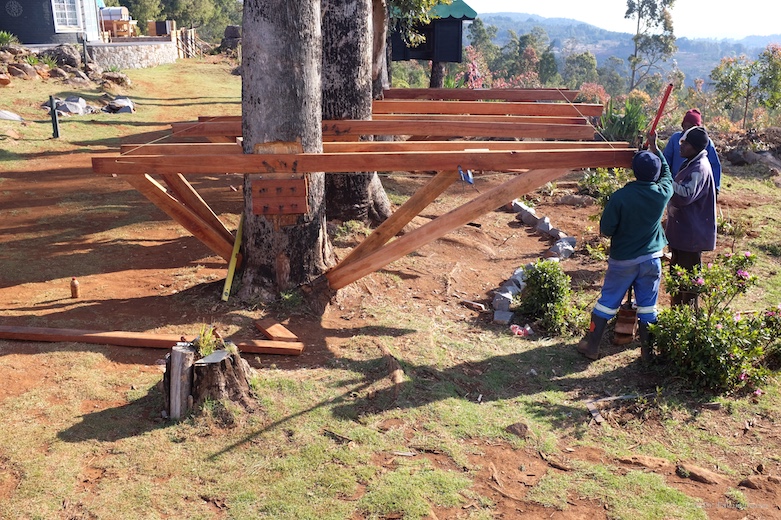
Edmore and Didymus survey the challenge
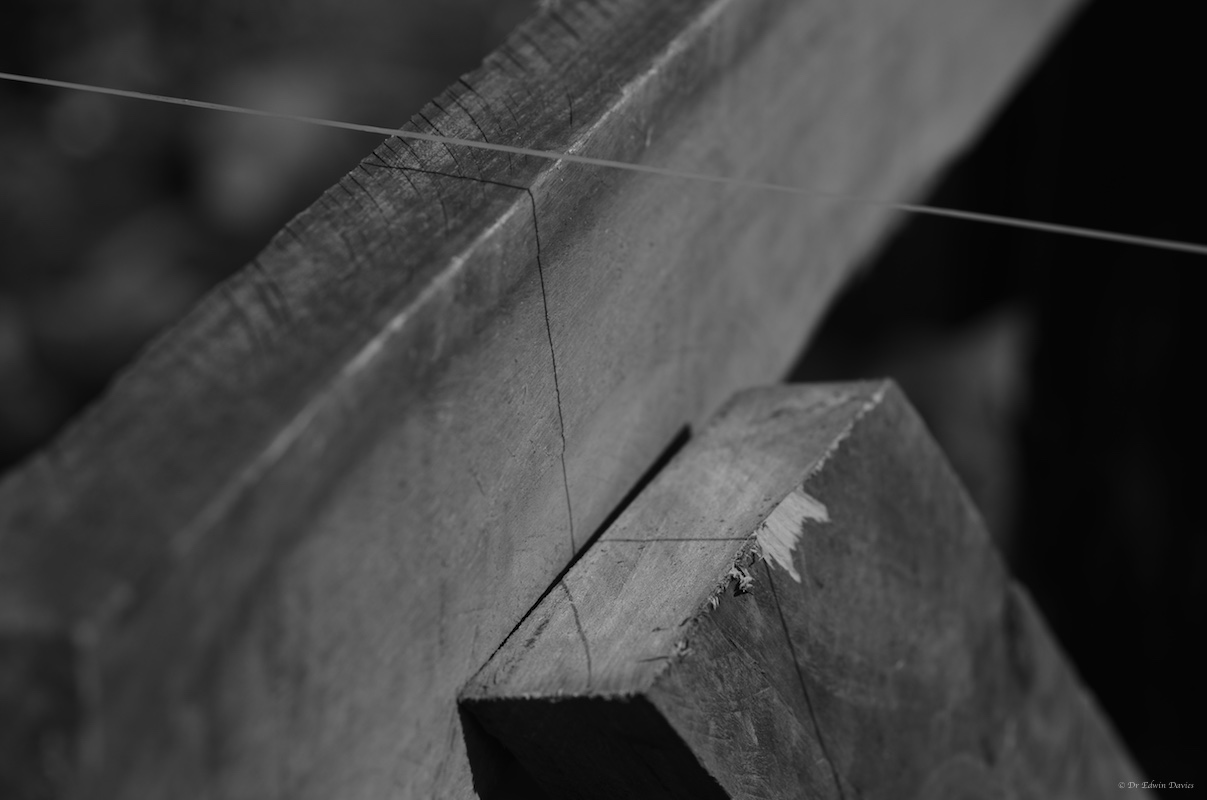
By carving out recesses to support the cross beams the load is transferred to the tree and not carried by the steel pins.

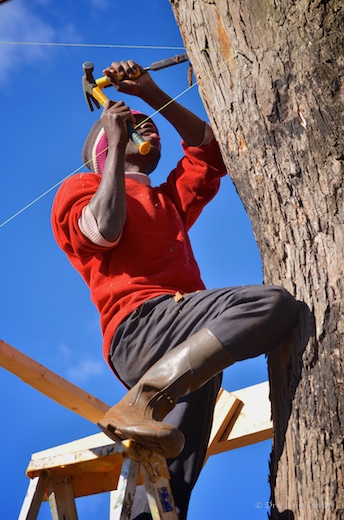
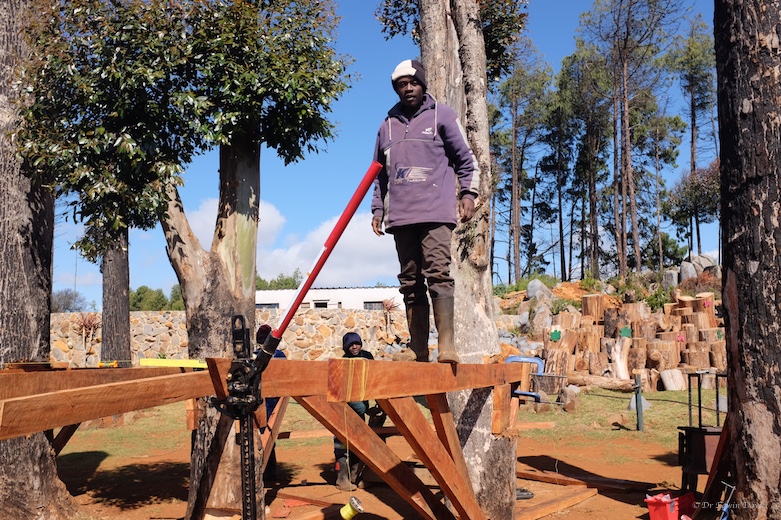
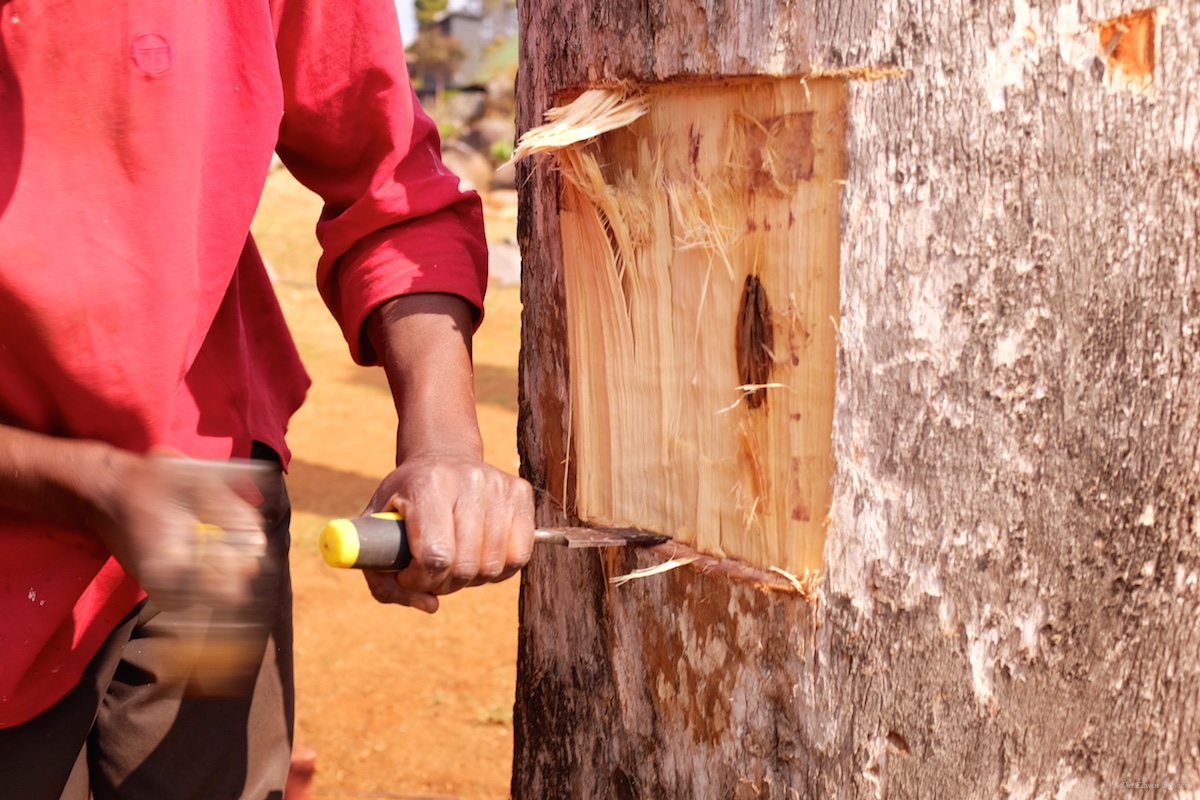
Tree carving commences

While Edmore manufactures some pins

and sharpens them

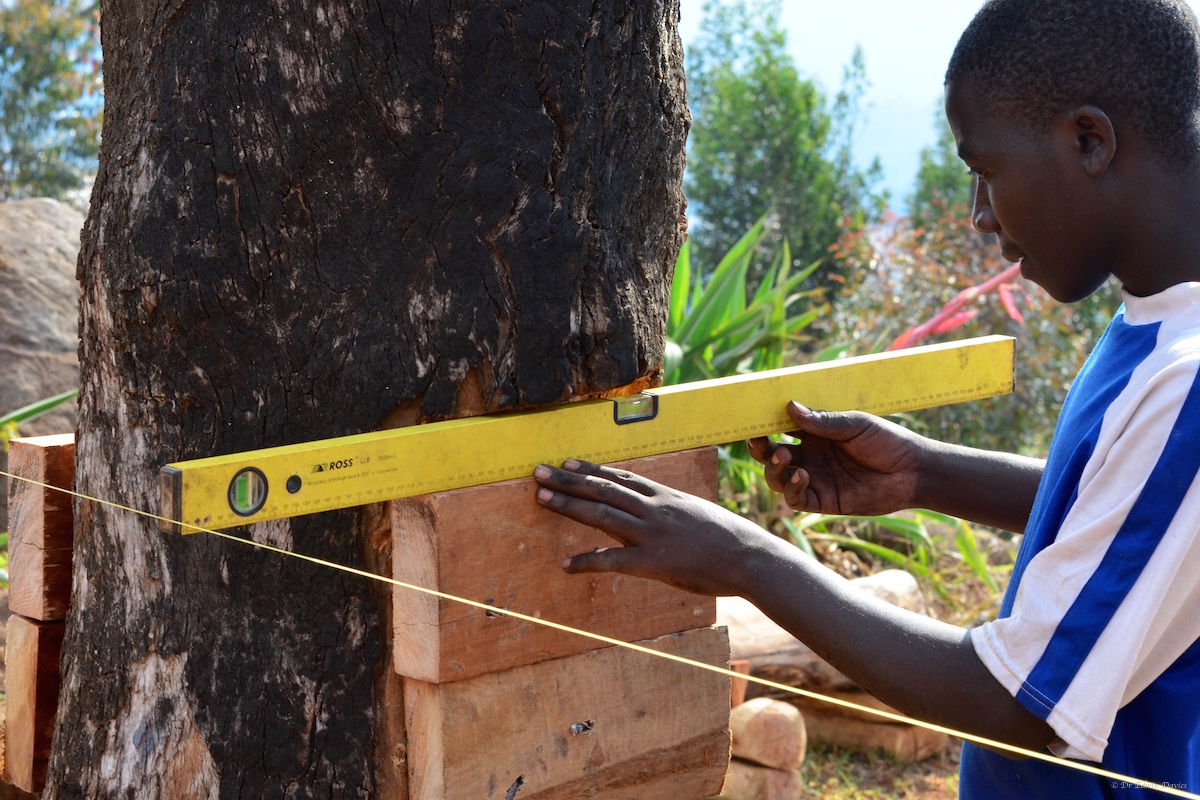
Delight checks that our foundations are level

some of our tools on this job

The team carving holes for the short supporters

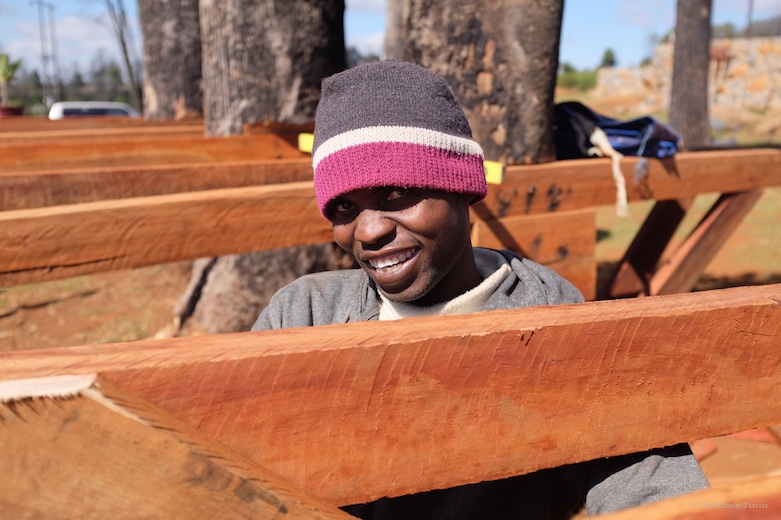
Didymus and team

The short supporter position

supporter
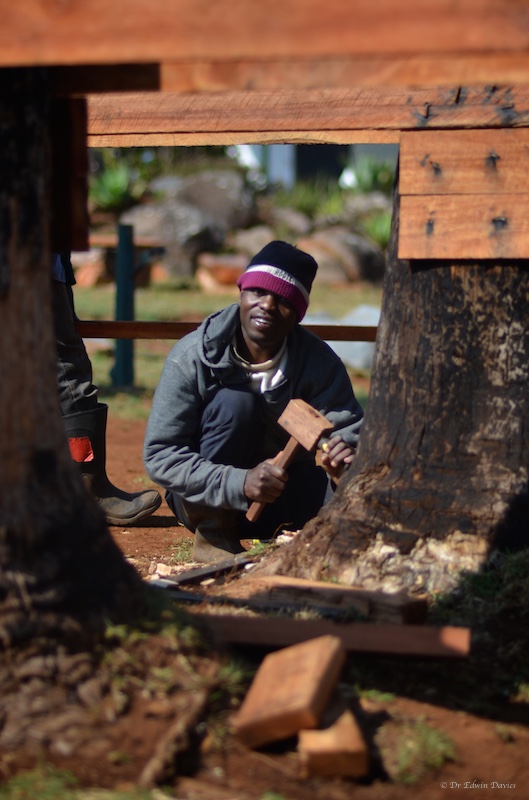
Edmore carving

Troutbeck Lake with low cloud
Although the trees were planted in a curve and are not of equal girth we are aiming for 90 degree corners to make the wall construction simpler.

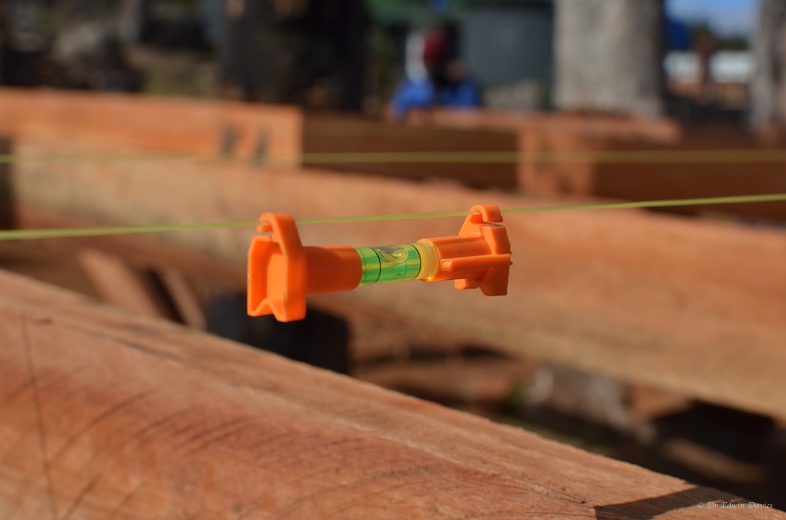
Delight checking we are square
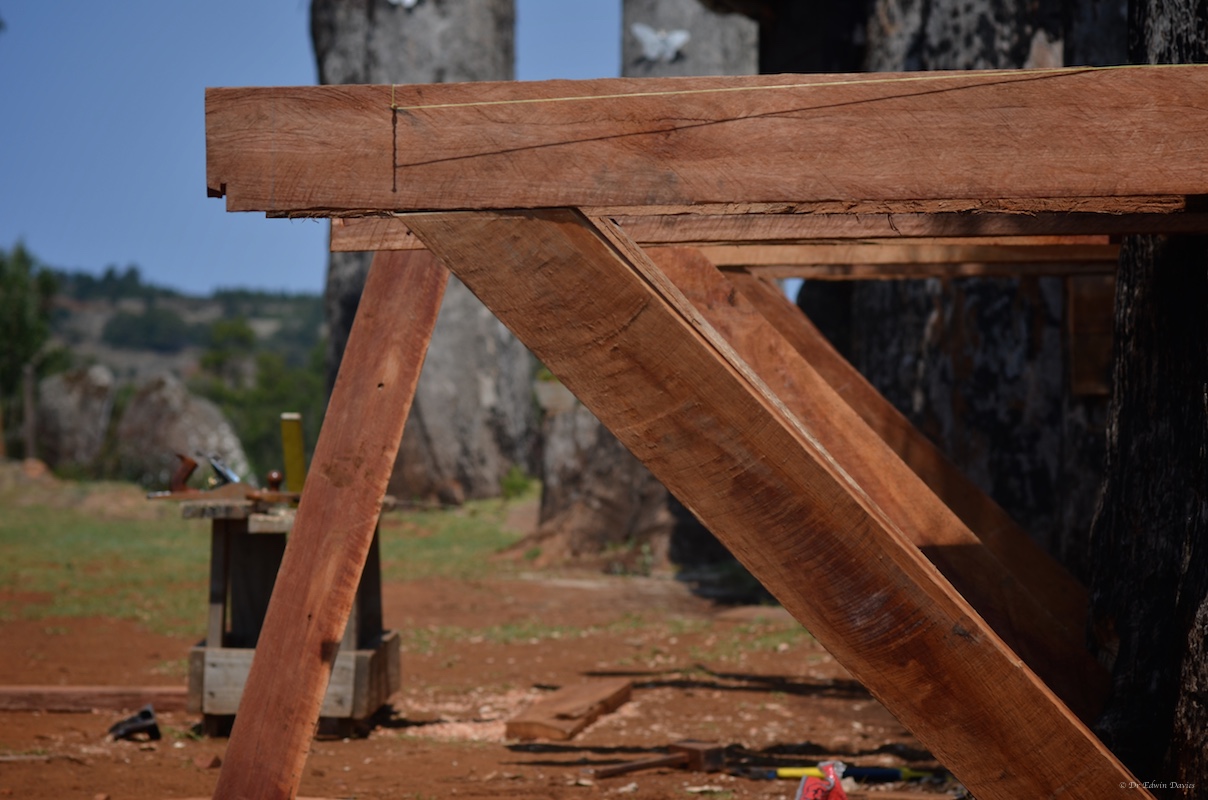
The load is passed down to the tree through the cross beams and braces.

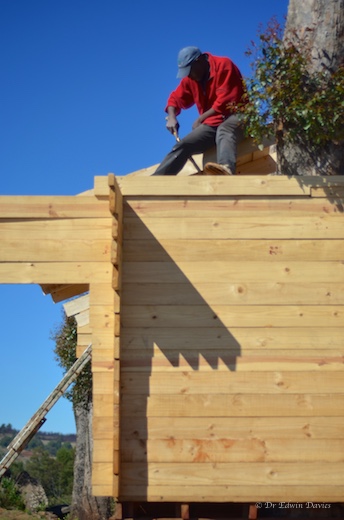
Cross beams and short supporters in place
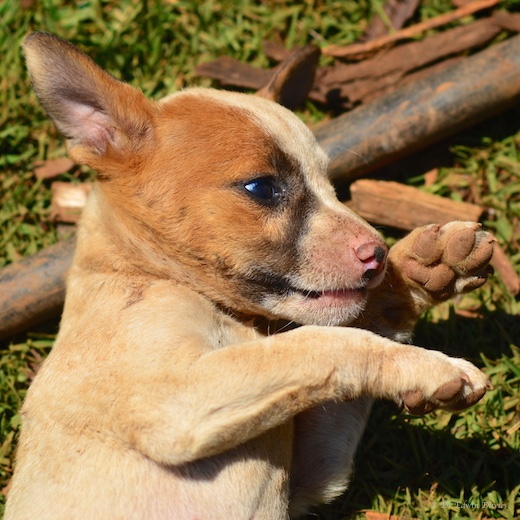
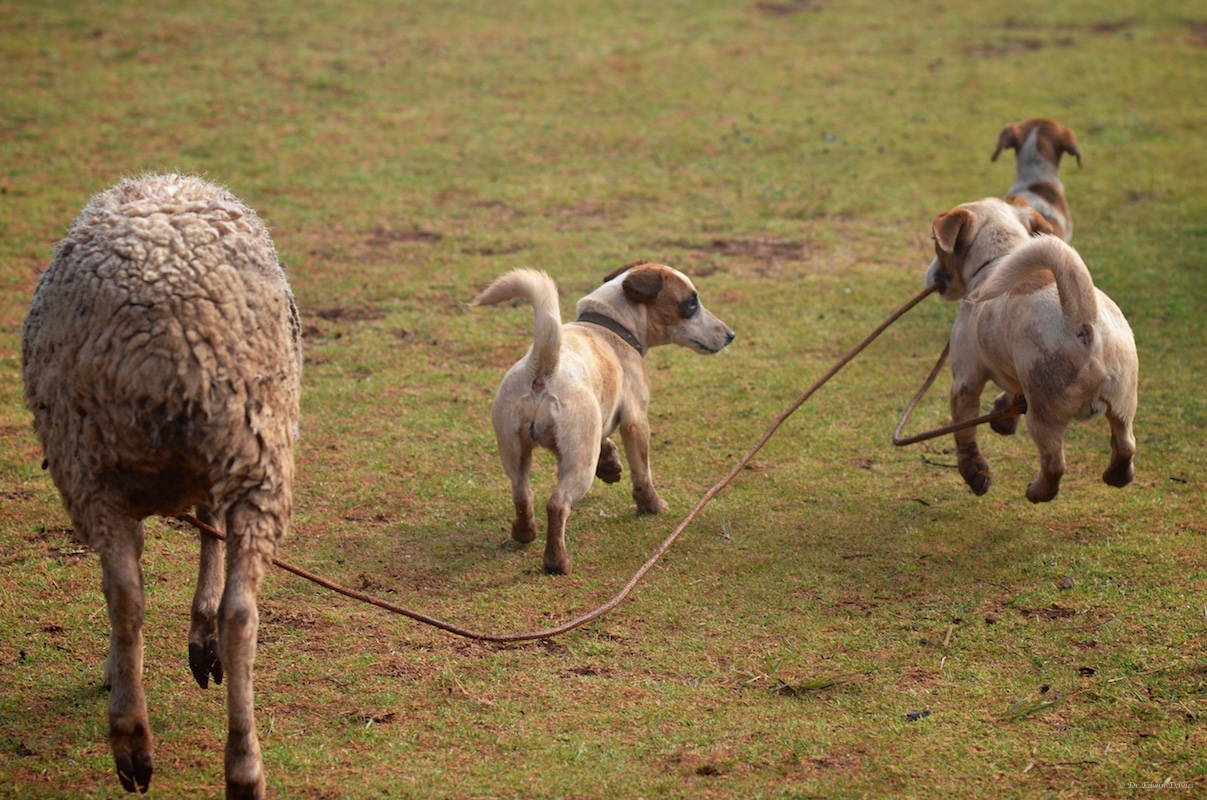
Doggy picture …

Barcus airborne while leading Julien