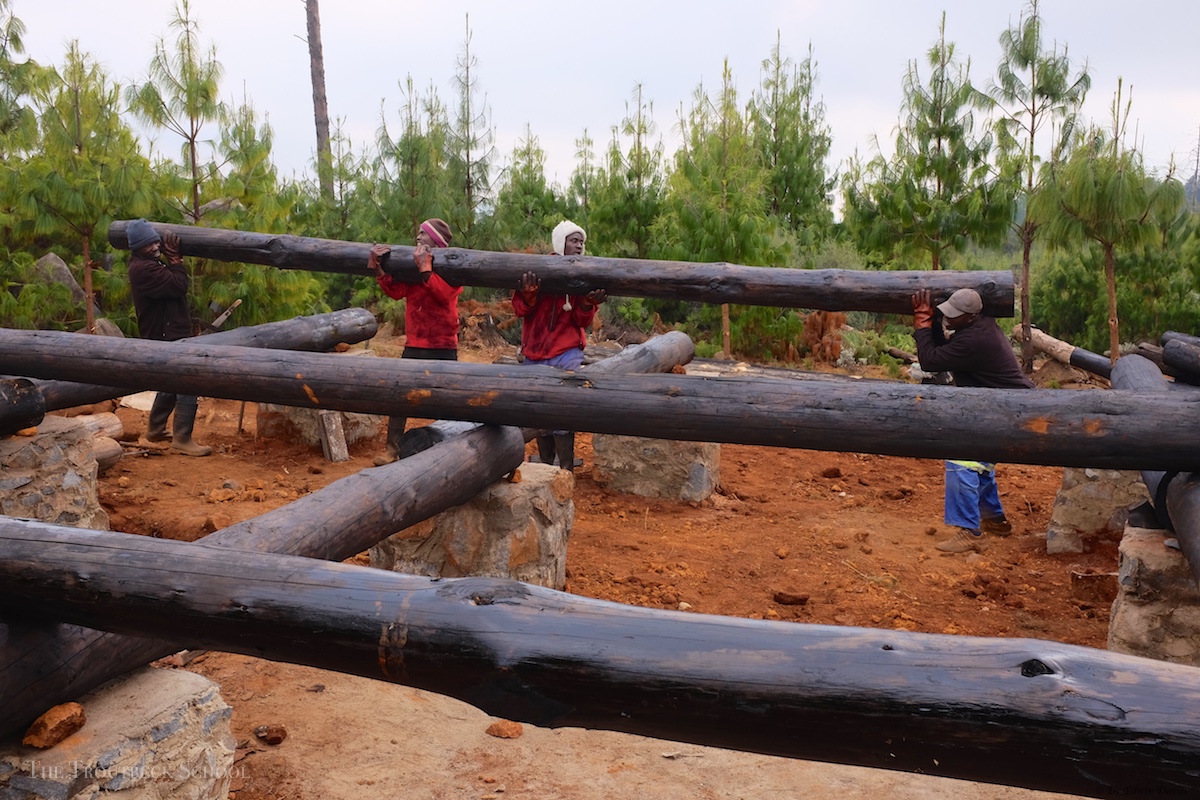
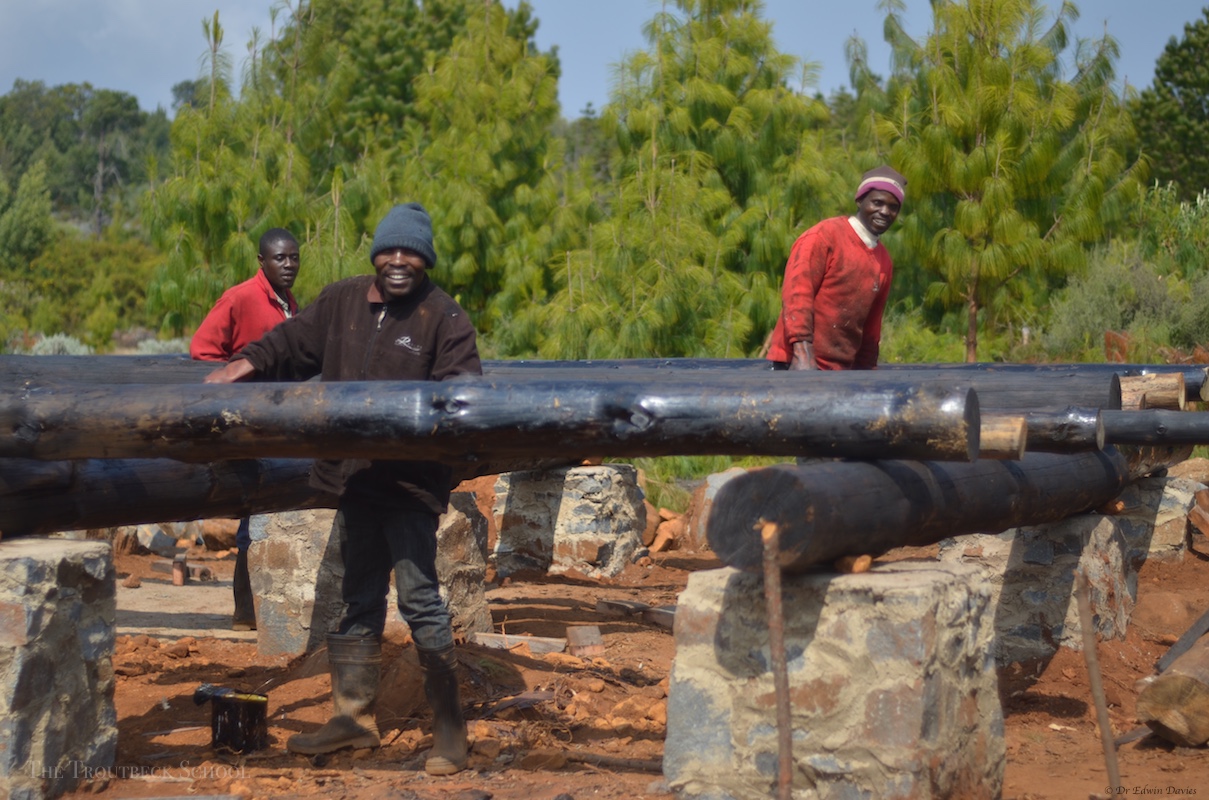
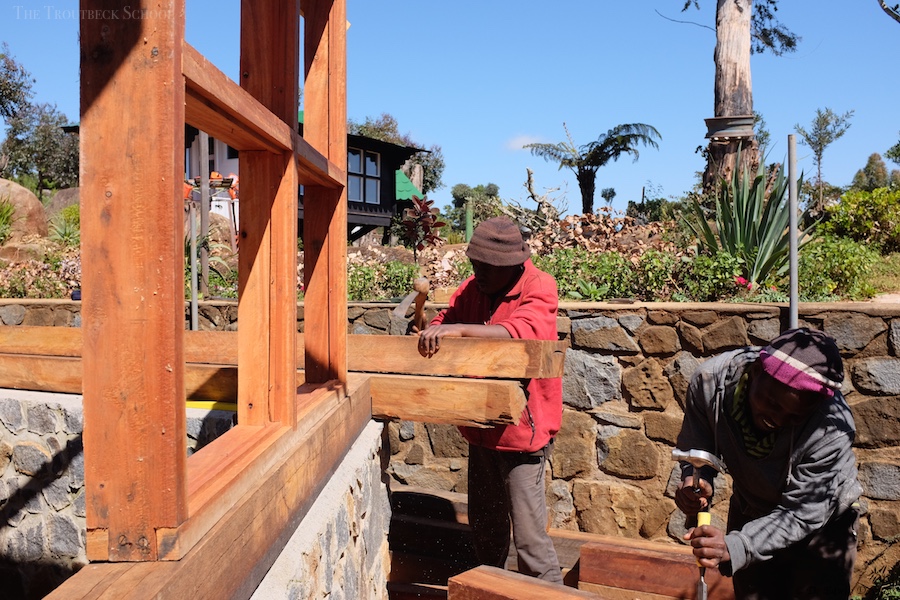
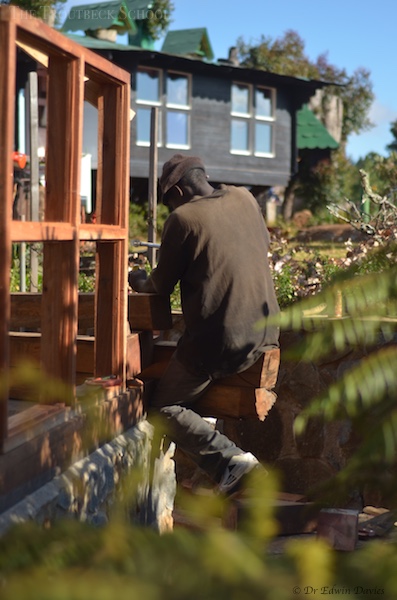
The porch foundations were a bit more complicated than the main tree house. The porch is supported by what I may call an inverted 3D roof truss which spans between two tree stumps. Below you can see Didymus balancing on the mid point of the truss (temporarily supported at each end).

Didymus balancing on the inverted 3D truss
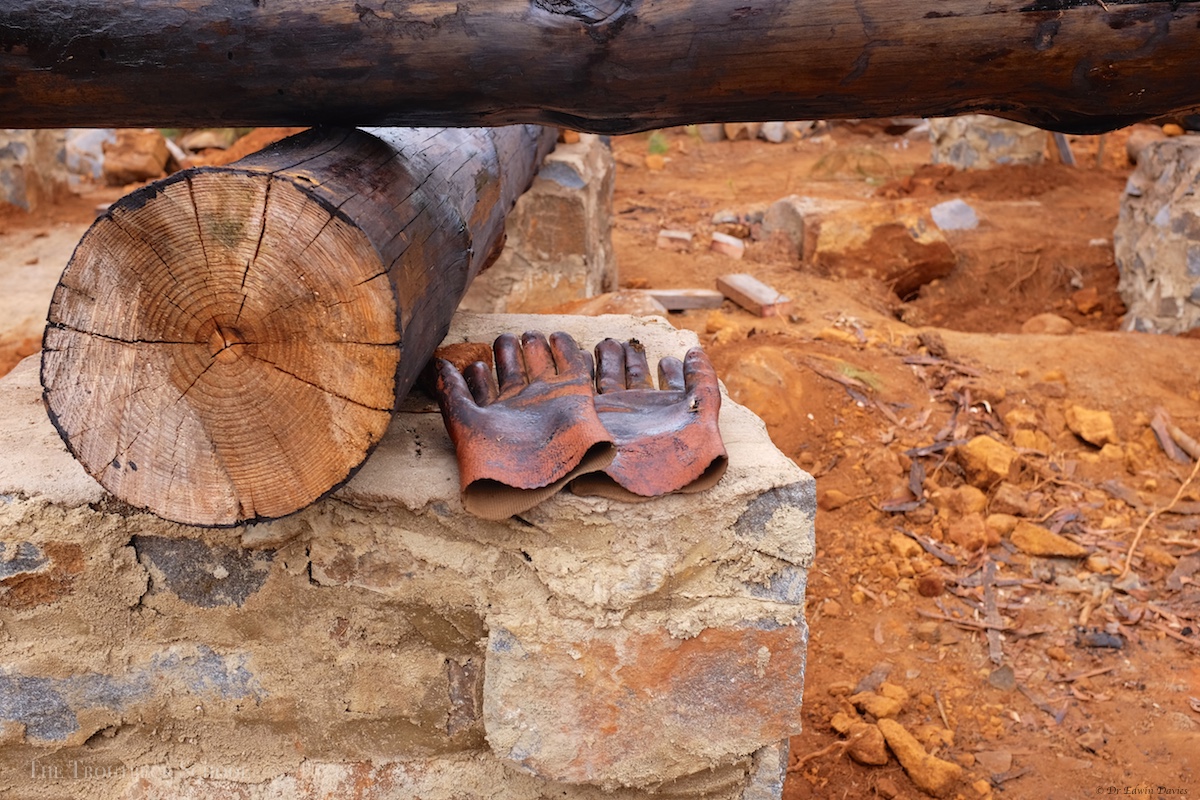
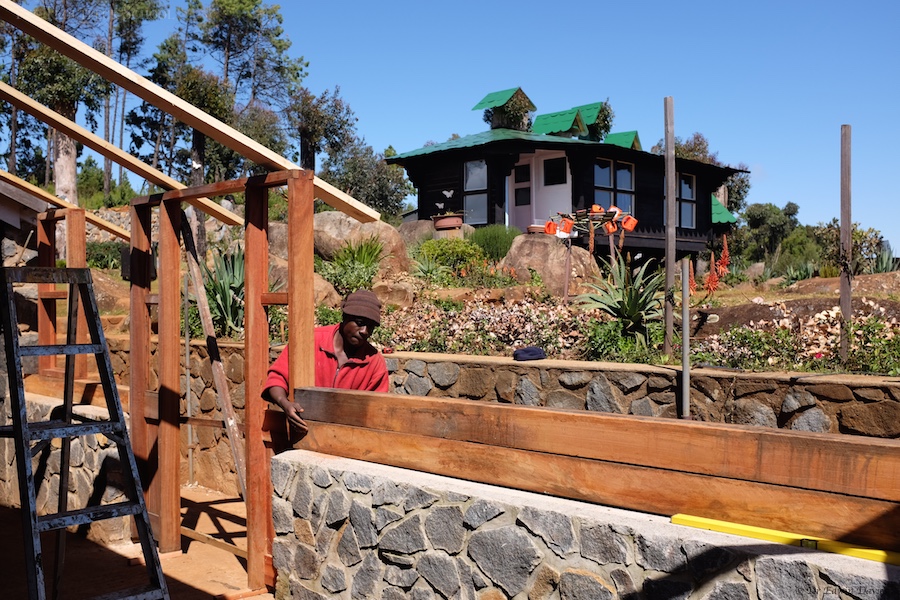
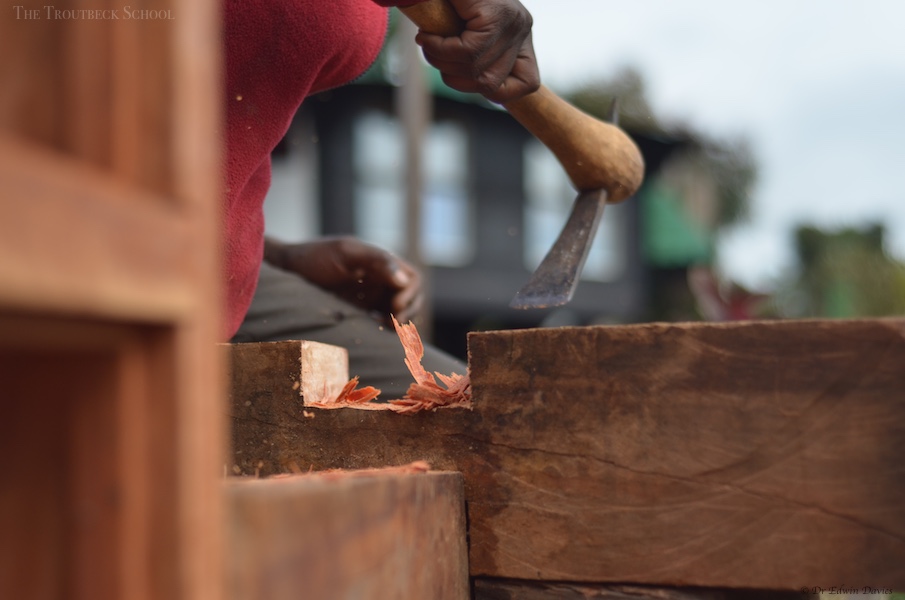
To make matters more interesting you can see that the last tree stump (on the right – below) was way too short.

Inverted 3D truss

The last stump was too short!
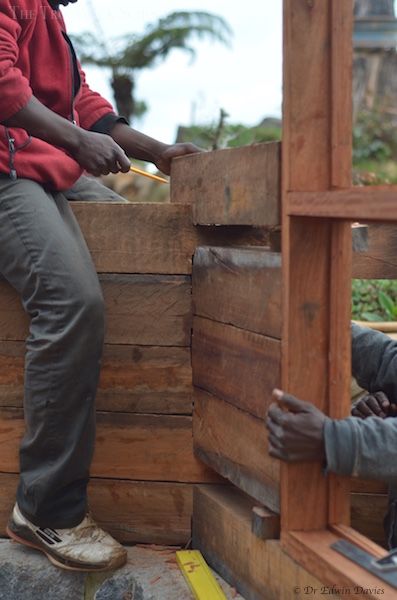
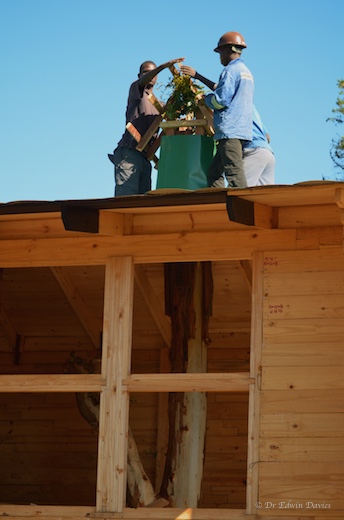
Thus we used an “Alpine” style cross made of simbi (metal) by Soko. This anchored the centre of the truss firmly into the tree stump with the help of some cement. So technically the tree house still doesn’t touch the ground (yet) – it just has a steel-cement support in one tree stump.

Metal cross inserted into hollowed out tree stump

Cement being added into the stump

Now a well anchored inverted 3D truss foundation

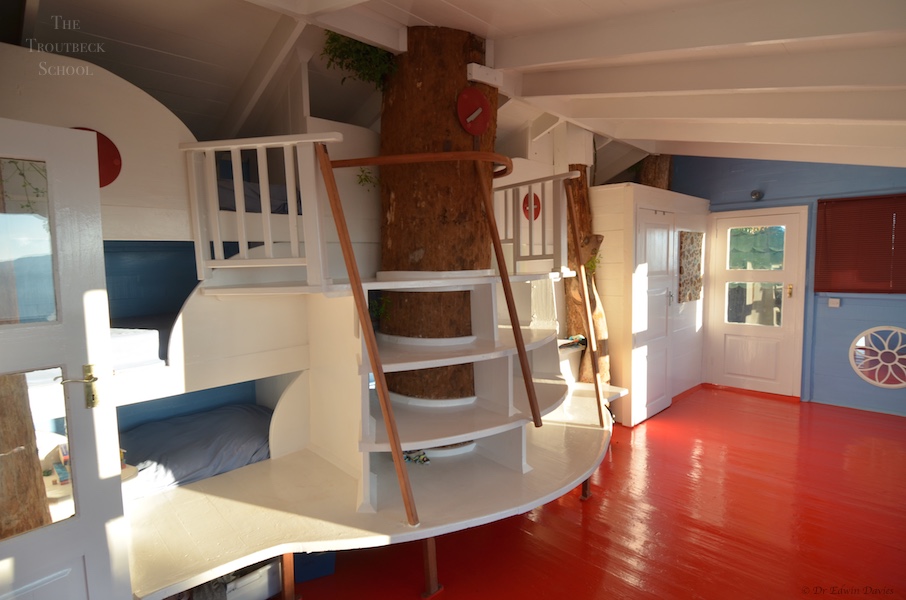
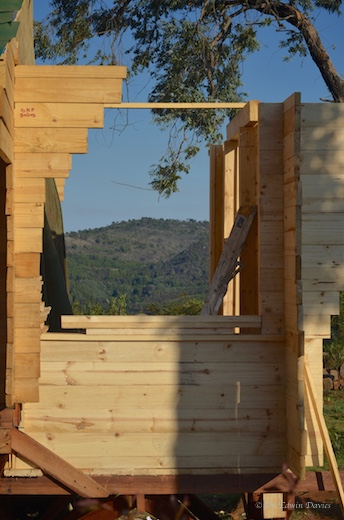
Porch floor and steps up to main house

Porch window
Looking north through the porch
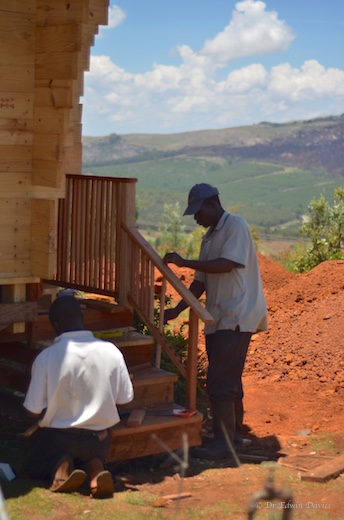
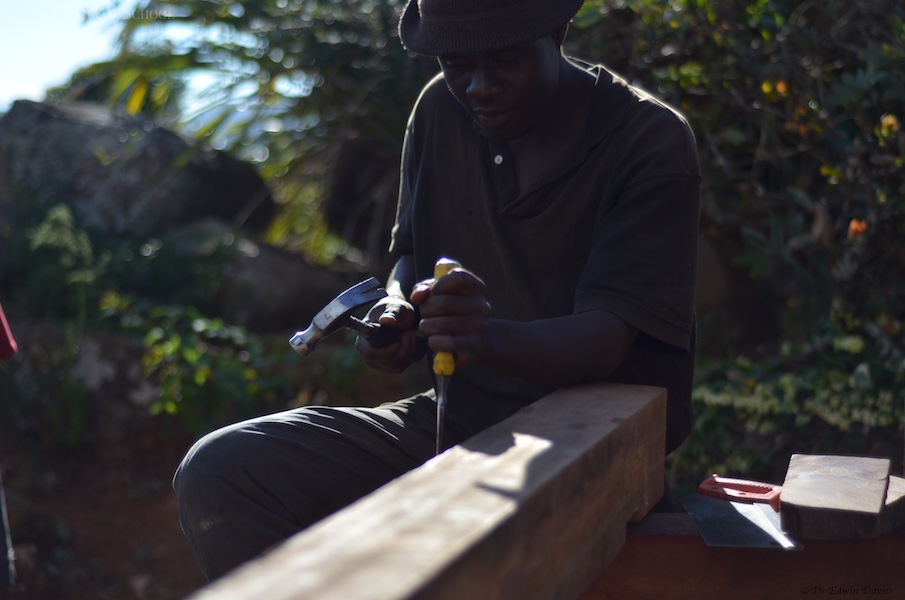
Working on the stairs up

The banisters
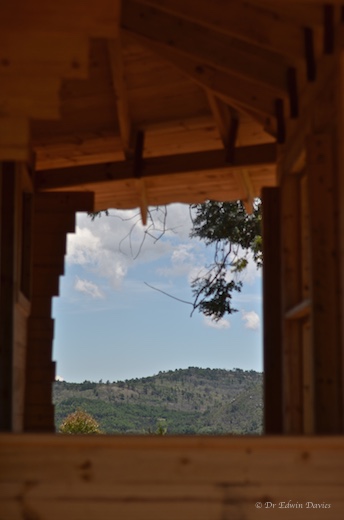
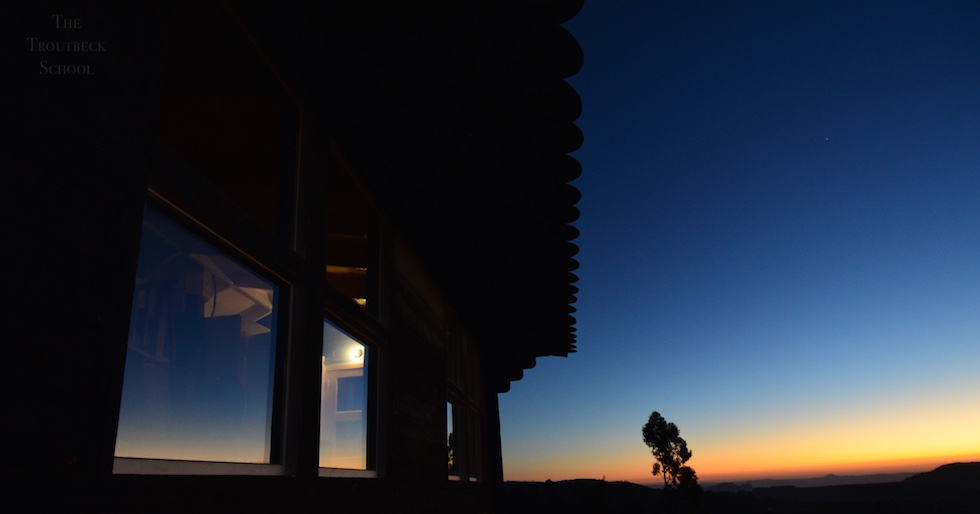
Looking north again – with roof in place
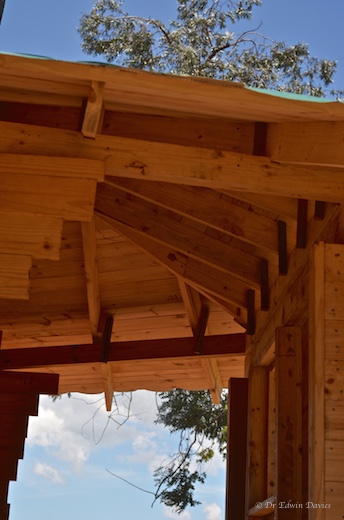
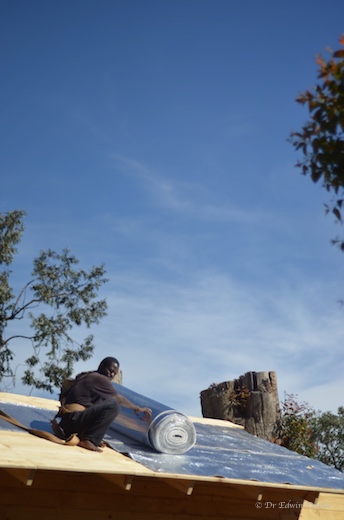
Porch roofing structure and lintels

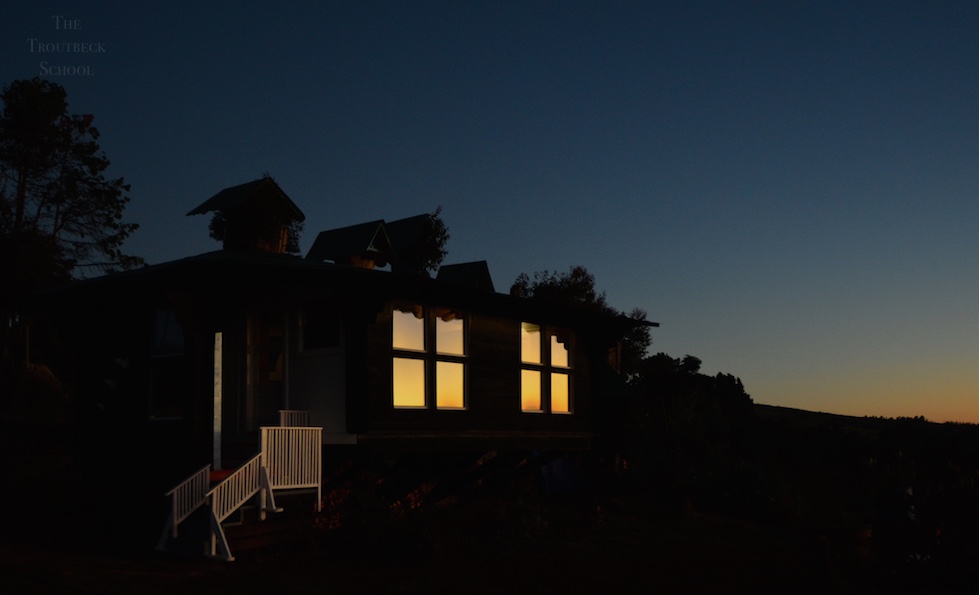
Its taking shape now
(Just in time for the phantom rainy season – its a drought year)